Making vanilla bean ice cream means dealing with a sticky mess of cream splatters and vanilla seeds everywhere. You’ll scrape seeds from the pod, then watch that fragrant black specks spread through the milk like tiny oil stains.
Churning involves a noisy, sloshing racket that makes the whole kitchen smell of sweet cream and vanilla, while the mixture thickens into something almost custard-like before freezing solid. It’s a hands-on process that’s as much about the physical act as the final scoop.
The scratch of the vanilla bean as you split it open, releasing that rich, floral aroma that fills the kitchen before you even start blending.
What goes into this dish
- Vanilla beans: I scrape out every dark seed, releasing that intense, floral aroma. Skip if you prefer pure extract, but the seeds give a visual pop and deeper flavor.
- Heavy cream: Whipping cream with a rich, velvety texture. If unavailable, try full-fat coconut milk for a dairy-free option that still feels indulgent, but expect a slight coconut aroma.
- Whole milk: I use it to balance the cream’s richness, giving the ice cream a smooth, scoopable consistency. Skim milk will make it icier, so I don’t recommend skipping the full-fat version.
- Sugar: I prefer superfine for quick dissolving and a clean sweetness. Brown sugar adds a caramel note if you’re feeling cozy, but cut back if you want a lighter flavor.
- Egg yolks: I whisk these into the custard for richness and a custardy bite. Skip if you’re wary of raw eggs; use an egg substitute or skip for a quicker, less creamy version.
- Salt: Just a pinch to heighten the vanilla and balance the sweetness. Sea salt flakes give a subtle crunch and contrast—skip if you want a pure vanilla flavor.
- Vanilla extract: A splash deepens the flavor, but if you have vanilla paste or a bean pod, use that for a more intense, aromatic punch.
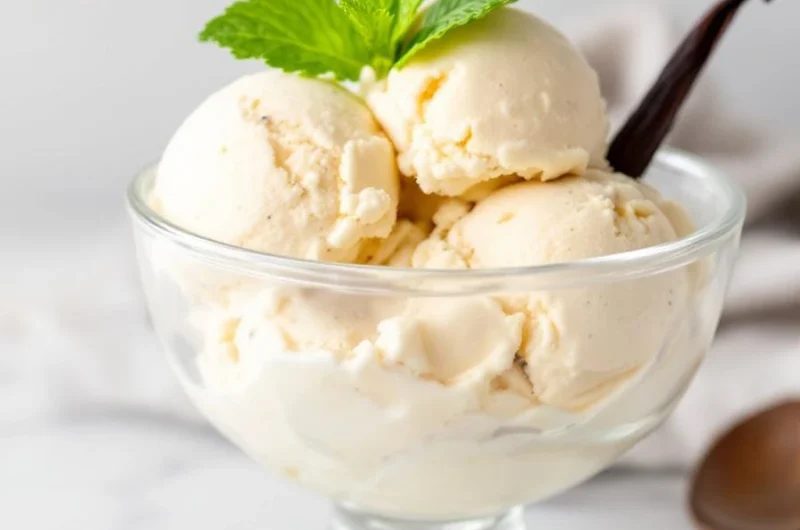
Homemade Vanilla Bean Ice Cream
Ingredients
Equipment
Method
- Place the vanilla beans on a cutting board and split them lengthwise with a sharp knife, then scrape out the tiny black seeds into a bowl.
- Combine the heavy cream, whole milk, and scraped vanilla beans (including the seeds) in a saucepan over medium heat. Warm gently until just steaming and fragrant, about 5 minutes, but do not let it boil.
- In a separate bowl, whisk together the egg yolks, sugar, and a pinch of salt until smooth and slightly pale, about 2 minutes.
- Slowly pour a ladle of the warm cream mixture into the egg yolks while whisking constantly. This tempers the eggs and prevents curdling.
- Gradually pour the tempered egg mixture back into the saucepan with the remaining cream, whisking constantly to combine.
- Cook the custard over low heat, stirring constantly with a spatula until it thickens slightly and coats the back of a spoon, about 5 minutes. It should reach around 170°F (77°C).
- Remove the saucepan from heat, stir in the vanilla extract, and strain the custard through a fine mesh sieve into a clean bowl to remove the vanilla bean pod and any cooked egg bits.
- Set the bowl in an ice bath and stir occasionally until the custard cools completely, about 20 minutes, to ensure it’s well chilled for churning.
- Once cooled, pour the custard into your ice cream maker and churn according to the manufacturer’s instructions until it reaches a soft, creamy consistency.
- Transfer the churned ice cream to a freezer-safe container, smoothing the top with a spatula, then freeze for at least 4 hours until firm.
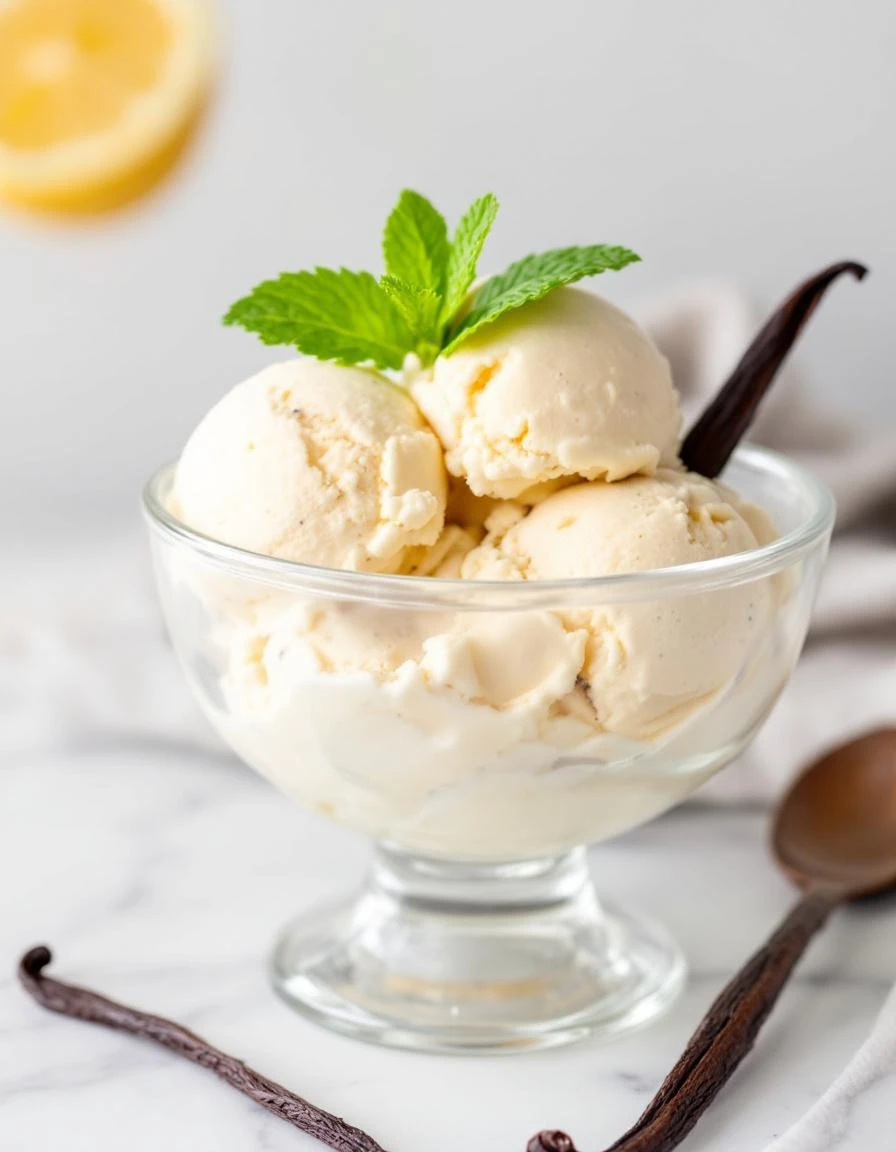
- Serve the vanilla bean ice cream scooped into bowls or cones, enjoying its speckled appearance and rich, floral vanilla flavor.
Common mistakes and how to fix them
- FORGOT to chill the custard before churning? Freeze it for at least 4 hours to prevent icy texture.
- DUMPED in hot cream? Let it cool to room temperature first, or the mixture will curdle.
- OVER-TORCHED the mixture? Keep the heat low and stir constantly to avoid scrambling eggs.
- SKIPPED the vanilla bean? Use a good quality vanilla extract or paste to keep flavor vibrant.
Make-Ahead and Storage Tips
- Prepare the custard base a day ahead, then chill in the fridge for at least 4 hours or overnight. This helps the flavors meld and keeps the mixture cold for churning.
- Freeze the churned ice cream for 4-6 hours until firm. For softer texture, serve after 2-3 hours of freezing, but beware of it becoming too hard after overnight storage.
- Flavor intensifies overnight as vanilla seeds and cream mingle. Expect a slightly more aromatic scoop the next day, but be mindful of ice crystals if left too long.
- Reheating is rarely necessary, but if it becomes too hard, let it sit at room temperature for 5-10 minutes. You’ll feel the softness under your spoon—perfect for a quick, creamy bite.
FAQs
1. How should vanilla bean ice cream feel when scooped?
Vanilla bean ice cream has a rich, creamy texture with tiny vanilla seeds that pop between your teeth. The aroma is floral and sweet, filling your nose as you scoop.
2. What’s the right consistency for serving?
It should be firm but not hard, with a slight softness on the surface. When you bite, it melts quickly, releasing vanilla and cream flavors on your tongue.
3. How long can I store it?
The flavor peaks after a day in the freezer, when vanilla seeds and cream mingles. It’s best enjoyed within a week for maximum freshness and flavor.
4. How do I fix ice crystals?
If it’s too icy, let it sit at room temperature for 5-10 minutes. You’ll feel it soften under your spoon, ready for a smooth, creamy bite.
5. How do I choose good vanilla?
Use a good-quality vanilla bean or extract. The aroma should be bright and floral, like fresh-cut vanilla pods, not dull or muted.
Hi there! I’m Himani and welcome to Val’s Recipe Box. This little corner of the internet didn’t begin with me. It began with Val my neighbourhood aunt whose kitchen held more warmth than any fireplace ever could.


 This little corner of the internet didn’t begin with me.
It began with Val my neighbourhood aunt whose kitchen held more warmth than any fireplace ever could.
She was more of a friend and I’ve come to know her in the most unexpected way.
This little corner of the internet didn’t begin with me.
It began with Val my neighbourhood aunt whose kitchen held more warmth than any fireplace ever could.
She was more of a friend and I’ve come to know her in the most unexpected way.