Rolling out the pastry is a mess, but it’s worth it—flour everywhere, fingers sticky from butter. You want it thin but not tearing, edges uneven but charming. The crust needs a chill, so I toss it in the fridge while I prep the tomatoes.
Slicing heirlooms is almost satisfying enough to forget the mess—thick rounds, juicy and oozing, ready to be layered. I like to pat each slice dry with a paper towel before arranging, so they don’t sog the crust. That way, every bite has a good crunch and a burst of fresh tomato.
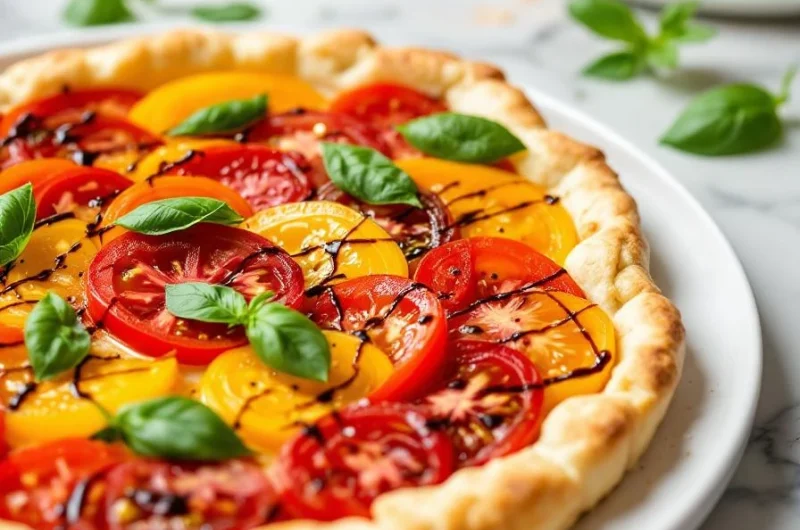
The slight crunch of the crisp pastry giving way to the juicy, bursting heirloom tomatoes with each bite.
What goes into this dish
- Heirloom tomatoes: I pick the ripest, most colorful ones—juicy, with a slight ooze when sliced. If you can’t find heirlooms, cherry tomatoes halved work but won’t have the same depth of flavor.
- Pie crust: I prefer a flaky, buttery homemade crust, but store-bought works in a pinch—just chill it well before rolling out to prevent shrinking in the oven. Keep it cold, keep it tender.
- Fresh basil: I tear bright green leaves just before layering—nothing beats the aroma of torn basil, sharp and sweet. If basil’s scarce, a sprinkle of oregano adds a different herbal note.
- Cream cheese or ricotta: I spread a thin layer to cushion the tomatoes—adds richness and helps keep the crust crisp. For a dairy-free version, mashed avocado can add creaminess, but watch for moisture.
- Olive oil: Drizzle generously for a peppery, fruity aroma that elevates everything. If you’re out, a splash of good balsamic vinegar can add a tangy brightness instead.
- Salt and pepper: I season each layer lightly; a pinch of flaky sea salt makes the flavors pop. Skip salt if you’re watching sodium, but don’t skip pepper—adds a needed bite.
- Optional: a drizzle of honey or balsamic glaze after baking adds a sweet-tangy finish that balances the acidity of the tomatoes.
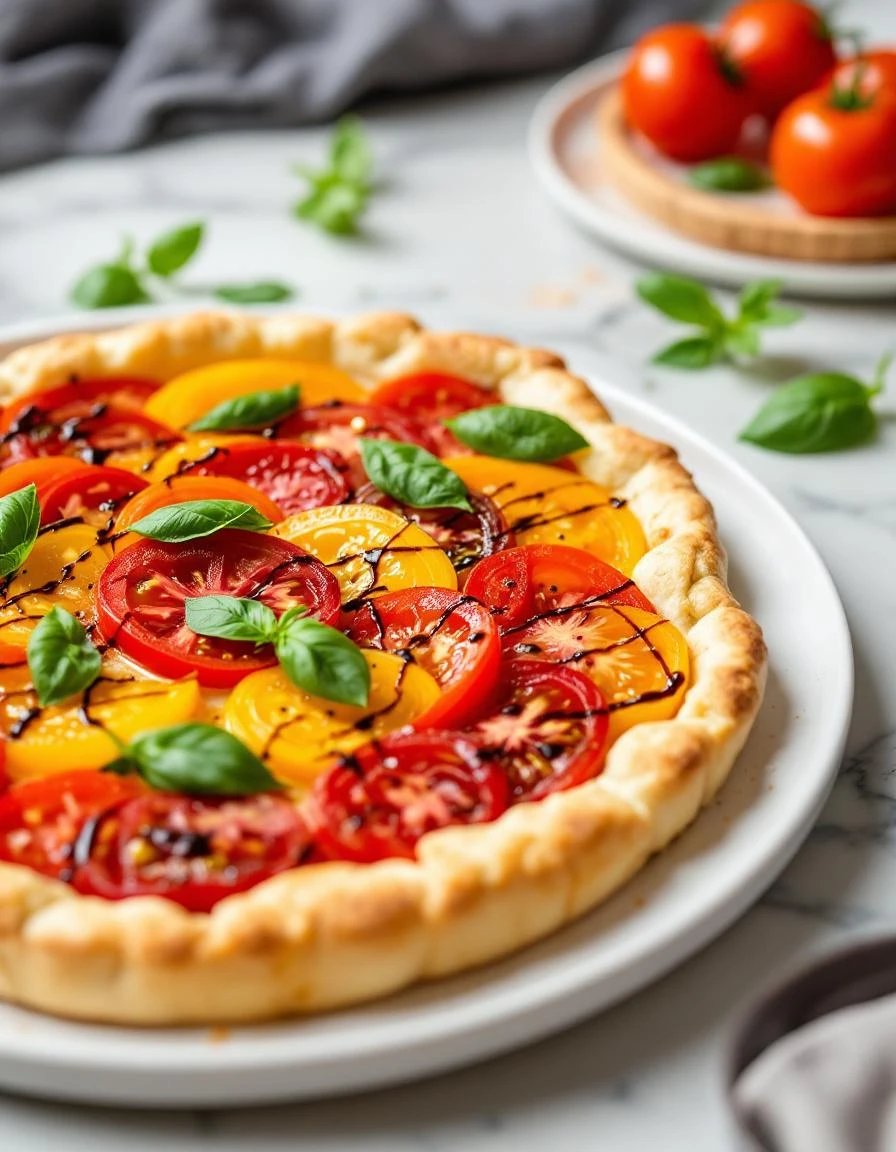
Heirloom Tomato Tart
Ingredients
Equipment
Method
- Start by rolling out the chilled pie crust on a lightly floured surface until it's thin but not tearing, about 1/8 inch thick. Transfer it to a parchment-lined baking sheet and prick the bottom with a fork to prevent puffing up during baking. Chill in the fridge while you prepare the other ingredients.
- Spread a thin, even layer of softened cream cheese or ricotta over the chilled crust, leaving a small border around the edges. This cushion helps keep the crust crisp and adds richness to each bite.
- Slice the heirloom tomatoes into thick rounds about half an inch thick. Pat each slice dry with a paper towel to remove excess moisture, which helps prevent sogginess. Arrange the slices evenly over the cheese layer, covering the tart surface.
- Tear fresh basil leaves just before layering, and sprinkle them generously over the tomatoes for a burst of herbal aroma. Season lightly with salt and freshly ground black pepper to enhance the flavors.
- Drizzle olive oil generously over the assembled tart, allowing it to seep into the layers and bring out the flavors. If desired, add a light drizzle of honey or balsamic glaze for a sweet-tangy finish after baking.
- Place the tart in a preheated oven at 375°F (190°C) and bake for about 30-35 minutes, until the crust is golden brown and crisp, and the tomatoes have softened and released some juices. Keep an eye on the edges to prevent over-browning; cover with foil if needed.
- Remove the tart from the oven and let it cool for a few minutes. The crust should be crispy, and the tomato juices should be bubbling gently. Finish with a light drizzle of honey or balsamic glaze if using, for a glossy, flavorful touch.
- Slice the tart into wedges and serve warm or at room temperature. Enjoy the crisp pastry complemented by the juicy, bursting heirloom tomatoes and fragrant basil in every bite.
Notes
Common mistakes and how to fix them
- FORGOT to chill the crust: keep it cold to prevent shrinking and sogginess during baking.
- DUMPED too much filling: a thin layer prevents soggy crust and keeps the tart crisp.
- OVER-TORCHED the edges: cover with foil or edge shields to prevent burning while baking.
- MISSED slicing tomatoes evenly: uneven slices cause inconsistent texture and flavor distribution.
Make-Ahead and Storage Tips
- Prepare the crust and blind bake it a day ahead; store wrapped in foil at room temp for up to 24 hours.
- Slice and arrange heirloom tomatoes just before assembling; keep in an airtight container in the fridge for up to 4 hours.
- Chop and wash fresh herbs in advance; store wrapped in a damp paper towel inside a container for 1-2 days.
- Assembled tart can be refrigerated for 1 day before baking; bring to room temperature for 20 minutes before baking to ensure even heat absorption.
- Reheat slices in a 350°F oven until warm and crispy, about 10 minutes; check for a fragrant aroma and a crunchy crust.
FAQs
1. How do I pick good heirloom tomatoes?
Choose ripe, fragrant heirlooms—firm but yielding to gentle pressure. Their aroma should be sweet and earthy, almost like fresh dirt after rain. When sliced, they should release a bright, juicy scent.
2. How thick should tomato slices be?
Slice tomatoes thick enough to hold shape but not so thick they turn soggy. A good rule is about half an inch, pressing gently to feel the juice inside. The edges should be vibrant and slightly soft to the touch.
3. How do I know when the tart is done?
Bake the tart until the crust is golden and crisp, around 30-35 minutes. The aroma of baked pastry should fill your kitchen, with a hint of butter and toasty flour. The tomatoes will soften slightly, releasing their juices.
4. How do I prevent the crust from burning?
Use a flaky, chilled crust to prevent shrinking and sogginess. If the edges brown too fast, cover with foil or a baking shield. Don’t rush the chilling step—warm dough melts and becomes tough in the oven.
5. How long does the tart last in the fridge?
Wrap leftovers tightly and store in the fridge for up to 2 days. Reheat in the oven at 350°F until the crust feels crunchy again, about 10 minutes. The smell of baked pastry and warm tomatoes will tell you it’s ready.
Hi there! I’m Himani and welcome to Val’s Recipe Box. This little corner of the internet didn’t begin with me. It began with Val my neighbourhood aunt whose kitchen held more warmth than any fireplace ever could.


 This little corner of the internet didn’t begin with me.
It began with Val my neighbourhood aunt whose kitchen held more warmth than any fireplace ever could.
She was more of a friend and I’ve come to know her in the most unexpected way.
This little corner of the internet didn’t begin with me.
It began with Val my neighbourhood aunt whose kitchen held more warmth than any fireplace ever could.
She was more of a friend and I’ve come to know her in the most unexpected way.