Say Hello to Your New Favorite Dessert!
If you’re craving something sweet, tangy, and irresistibly smooth, this Mango Curd Tart is your perfect match. Made with fresh, ripe mangoes and a touch of pantry magic, it’s a vibrant treat that beats store-bought any day. Plus, it comes together faster than you’d think—no complicated techniques or obscure ingredients needed.
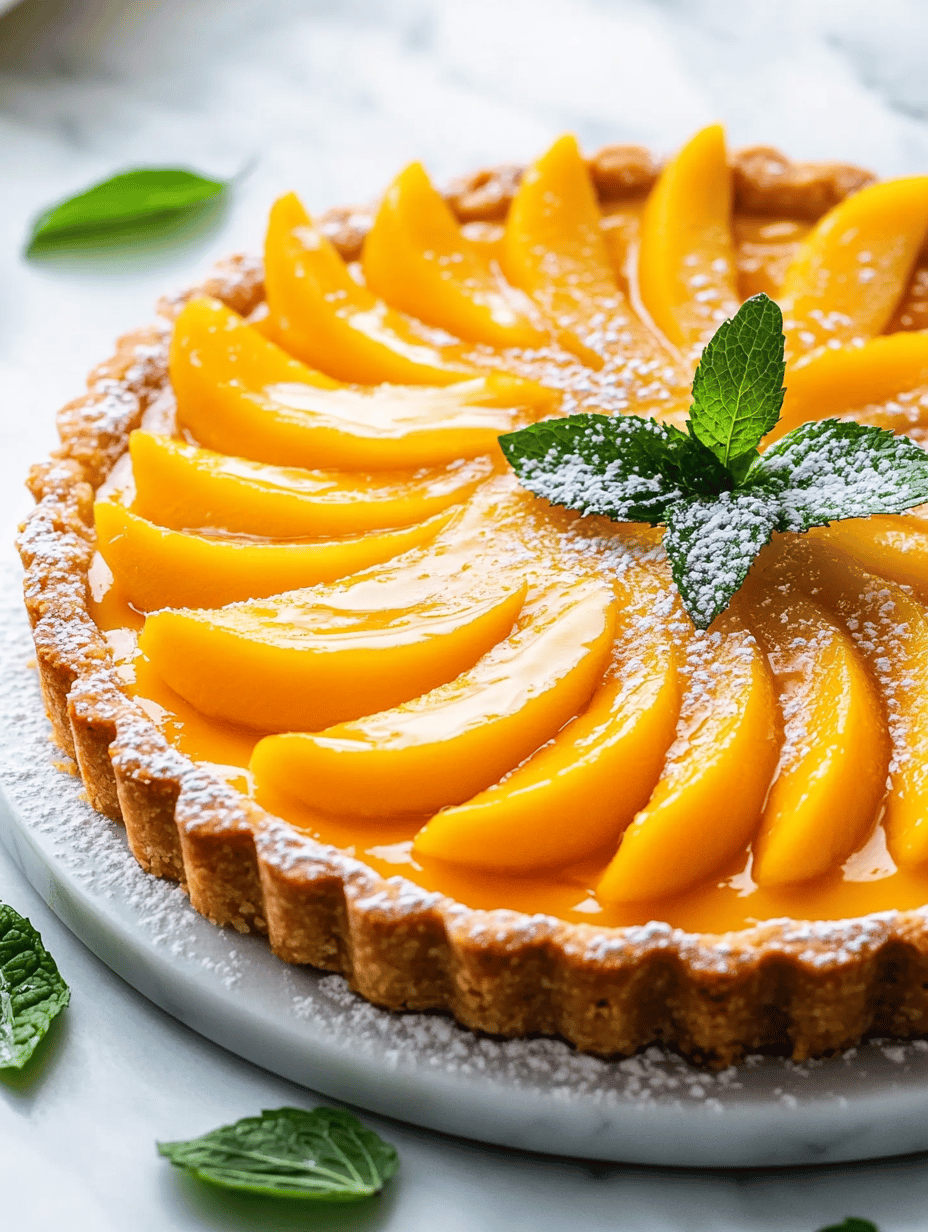
Imagine biting into a crisp, buttery crust topped with a punchy, tropical mango curd—bright, sweet, and oh-so-creamy! The aroma alone will have your kitchen feeling like a warm summer day. And hey, if you’re feeling adventurous, you can swap in other favorite fruits or whip up a batch in no time.
So, let’s get that tart in the oven—your taste buds are waiting for this sunshine in dessert form!
Mango Curd Tart
Ingredients
Equipment
Method
- Mix flour, sugar, and salt in a food processor until combined. Add cold butter and pulse until mixture resembles coarse crumbs. Press the mixture into a tart pan and bake at 350°F (175°C) for 20 minutes until golden brown.1 1/2 cups all-purpose flour
- Puree the peeled and diced mangoes in a blender or food processor until smooth and vibrant orange. Measure out 1 cup of mango puree for the curd.1 1/2 cups all-purpose flour
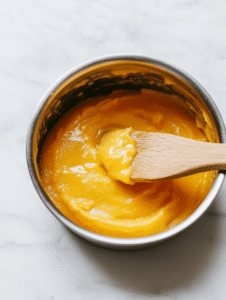
- Combine mango puree, beaten eggs, lemon juice, and a pinch of salt in a saucepan. Cook over medium heat, stirring constantly, until the mixture thickens and begins to bubble around the edges. This should take about 8-10 minutes.1 1/2 cups all-purpose flour
- Once the mango curd thickens and coats the back of a spoon, remove from heat and pour into the cooled tart shell. Smooth the top with a spatula.
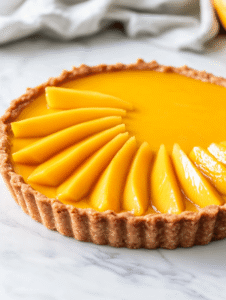
- Allow the tart to cool to room temperature, then refrigerate for at least 2 hours until set. Optionally, decorate with fresh mango slices before serving.1 1/2 cups all-purpose flour
Notes
This Mango Curd Tart is a total showstopper that’s easy to whip up. For an extra special touch, serve it chilled with a dollop of whipped cream or fresh mango slices. Don’t forget to share your gorgeous creations and any fun twists you try—I’d love to hear how it turns out! Happy baking!
Hi there! I’m Himani and welcome to Val’s Recipe Box. This little corner of the internet didn’t begin with me. It began with Val my neighbourhood aunt whose kitchen held more warmth than any fireplace ever could.


 This little corner of the internet didn’t begin with me.
It began with Val my neighbourhood aunt whose kitchen held more warmth than any fireplace ever could.
She was more of a friend and I’ve come to know her in the most unexpected way.
This little corner of the internet didn’t begin with me.
It began with Val my neighbourhood aunt whose kitchen held more warmth than any fireplace ever could.
She was more of a friend and I’ve come to know her in the most unexpected way.