If you’ve ever dreamed of achieving pizzeria-quality pizza right in your own kitchen, this stand mixer pizza dough recipe is your golden ticket. Whether you’re a beginner or a seasoned chef, you’ll revel in the joy of crafting a dough that’s both delightfully chewy and perfectly crisp. The magic lies in the harmonious blend of flour, water, and yeast, coming together to create a base that elevates your favorite toppings to new heights.
Imagine the aroma of freshly baked dough wafting through your home, teasing your senses with hints of olive oil and a touch of salt. With the stand mixer doing the heavy lifting, you’re free to focus on the fun part: creating a pizza masterpiece that bursts with flavor. Rest assured, this recipe is designed to be foolproof, ensuring you’ll proudly pull that golden, bubbling pizza from your oven time and time again.
About This stand mixer pizza dough Recipe

- Effortless Preparation: Let your stand mixer do the work, saving you precious time and energy for other cooking adventures.
- Perfectly Textured Crust: This recipe delivers a chewy and crisp crust that rivals your favorite pizzeria, thanks to the precise kneading power of the stand mixer.
- Customizable Flavors: Enhance the dough with herbs or garlic for a personalized touch that elevates your homemade pizza to gourmet status.
- Time-Efficient: With minimal hands-on time, this recipe allows you to multitask while the dough rises to perfection.
- Consistent Results: Enjoy reliable and consistent pizza dough every time, ensuring a stress-free cooking experience even for beginners.
- Family-Friendly Fun: Get everyone involved in topping their own pizzas, making this recipe a delightful family activity or party hit.
Why You’ll Love This Recipe
- Effortless Preparation: Utilizing a stand mixer takes the hard work out of kneading, making the process both easy and efficient.
- Perfect Texture: Achieve a consistently smooth and elastic dough that results in a beautifully chewy crust every time.
- Time-Saving: This recipe allows you to prepare your dough in advance, perfect for planning ahead on busy weeknights.
- Versatile and Customizable: Tailor the dough to your taste by adding herbs or spices, making it perfect for any pizza topping combination.
- Restaurant-Quality Results: Enjoy a homemade pizza experience that rivals your favorite pizzeria with minimal effort.
- Healthy and Homemade: Control the ingredients and avoid preservatives found in store-bought doughs, making a fresher, healthier choice.
Ingredients
- 1 1/2 cups warm water (about 110°F)
- 2 1/4 teaspoons active dry yeast (equivalent to one packet)
- 1 teaspoon sugar
(Helps activate the yeast)
- 3 3/4 cups all-purpose flour
(Bread flour can be used for a chewier crust)
- 2 tablespoons olive oil
(Extra virgin olive oil gives the best flavor)
- 1 1/2 teaspoons salt
- 1 tablespoon cornmeal
(For dusting the baking surface, optional)
- 1 tablespoon olive oil
(For greasing the bowl, optional)
- 1 teaspoon dried herbs
(Such as oregano or basil, optional)
Kitchen Tools You’ll Need
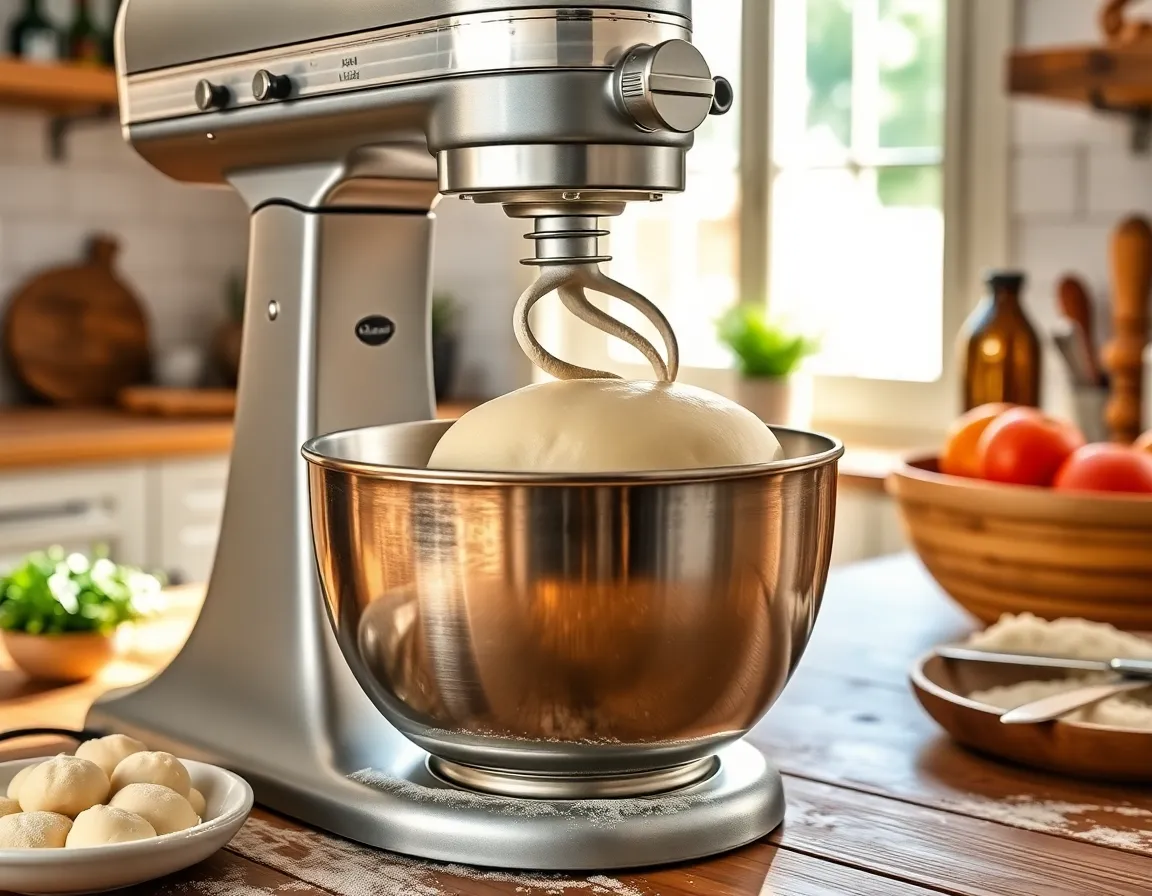
- Stand Mixer: Essential for kneading the pizza dough effortlessly. If you don’t have a stand mixer, you can knead the dough by hand, but it will require more time and effort.
- Dough Hook Attachment: This attachment is used with the stand mixer to knead the dough efficiently. Alternatively, you can use your hands for kneading if a dough hook is not available.
- Mixing Bowl: Needed to allow the dough to rise after kneading. A large bowl works best to accommodate the dough as it doubles in size.
- Plastic Wrap or Clean Kitchen Towel: Used to cover the mixing bowl while the dough is rising, keeping it protected and preventing it from drying out.
- Measuring Cups and Spoons: Essential for accurately measuring ingredients, particularly flour and yeast, to ensure the proper dough consistency.
- Bench Scraper or Knife: Helpful for dividing the dough into portions, if needed, and for transferring it from the work surface to a baking sheet or pizza pan.
- Rolling Pin: Used to roll out the dough to your desired thickness. If you don’t have a rolling pin, a wine bottle or similar cylindrical object can serve as a substitute.
Preparation Steps
- Attach the dough hook to your stand mixer and grease the bowl lightly with olive oil to prevent sticking.
- Combine 2 1/4 teaspoons of active dry yeast and 1 1/2 cups of warm water (about 110°F) in the bowl. Let it sit for 5 minutes until it becomes foamy, indicating that the yeast is activated.
- Add 3 1/2 cups of all-purpose flour, 2 tablespoons of olive oil, and 1 teaspoon of salt to the yeast mixture.
- Mix on low speed for about 2 minutes until the ingredients start to come together. Increase to medium speed and knead for an additional 5-7 minutes, or until the dough is smooth and elastic. If the dough is too sticky, add flour one tablespoon at a time.
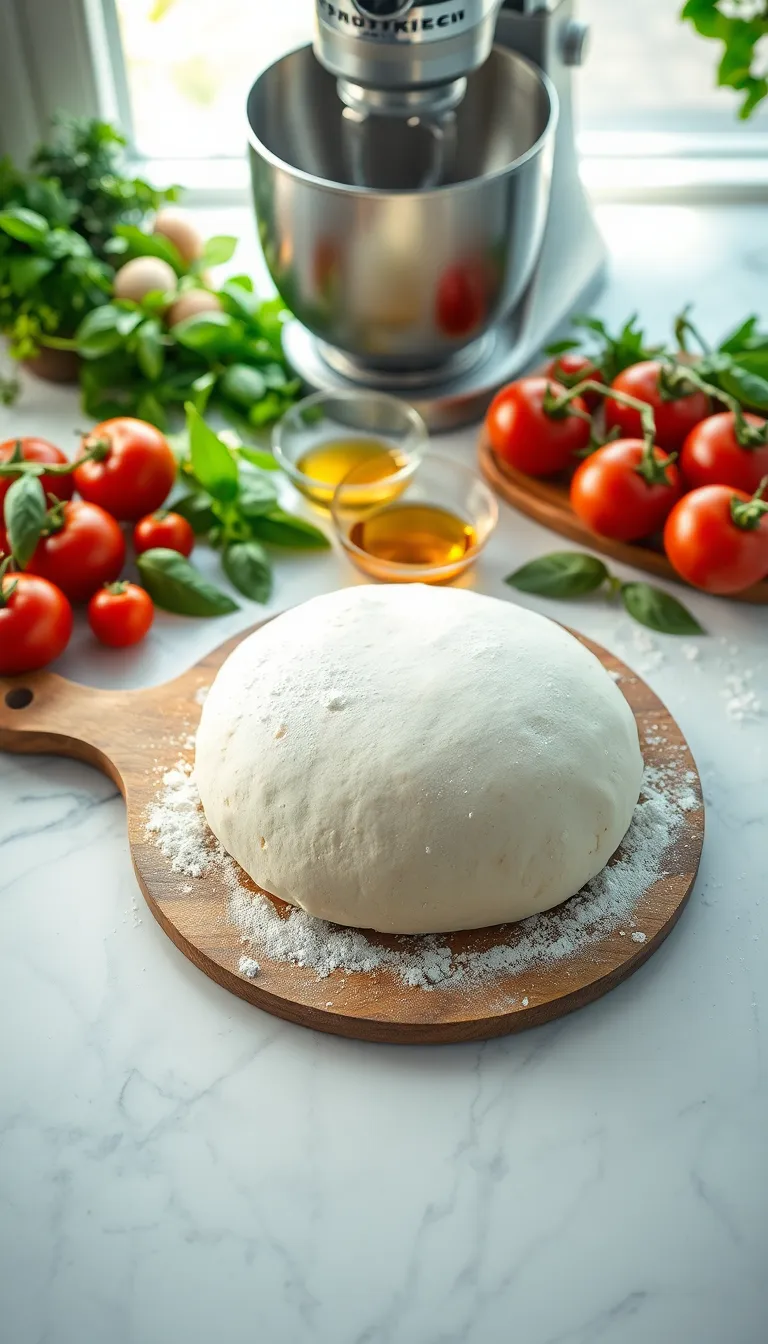
- Transfer the dough to a lightly floured surface and form it into a ball. Place it back into the greased bowl and cover with a damp towel or plastic wrap.
- Let the dough rise in a warm, draft-free area for 1-1.5 hours, or until it has doubled in size. The dough should be soft and spring back when poked gently with a finger.
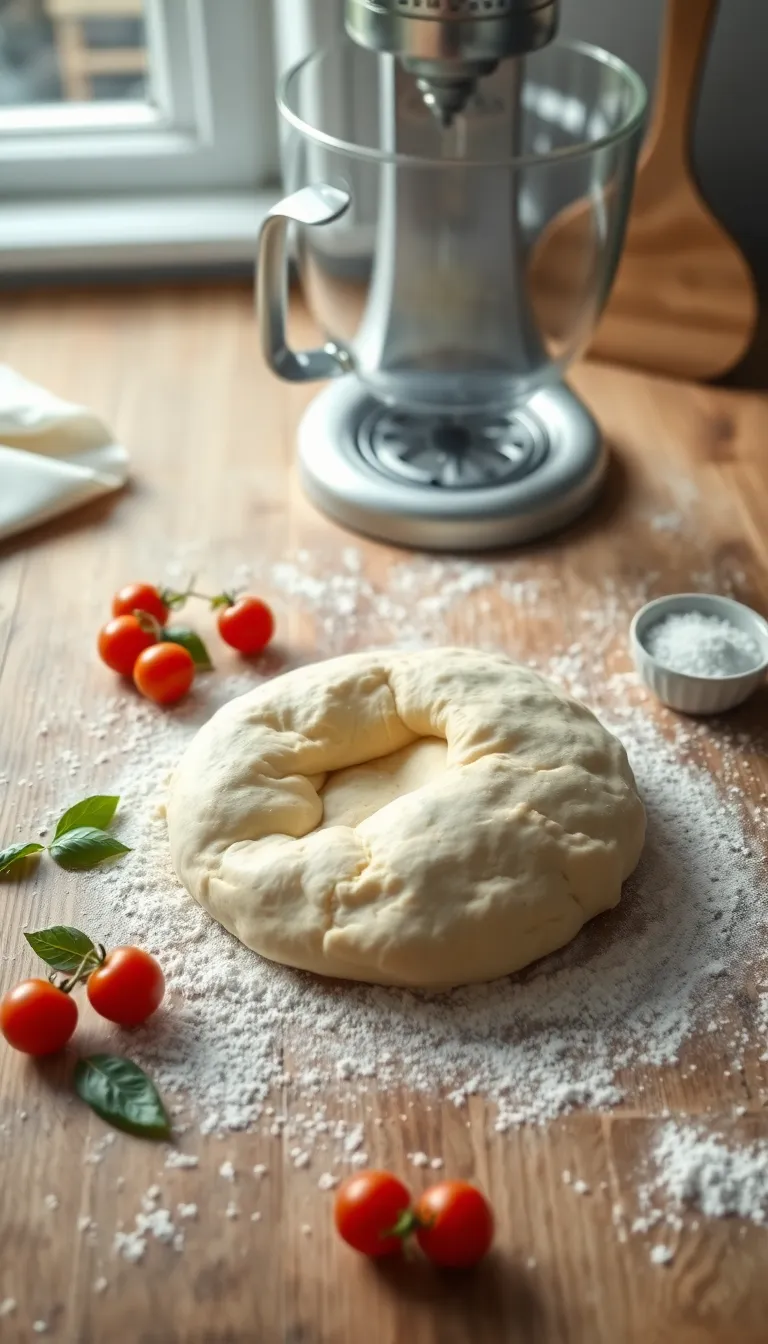
- Punch down the dough to release any air bubbles, then divide it into two equal pieces. Roll each piece into a ball and let rest for 10 minutes before shaping into your desired pizza form.
Following these steps will ensure your pizza dough is well-prepared for baking, creating a delicious and airy crust. Enjoy crafting your homemade pizza!
Serving Suggestions

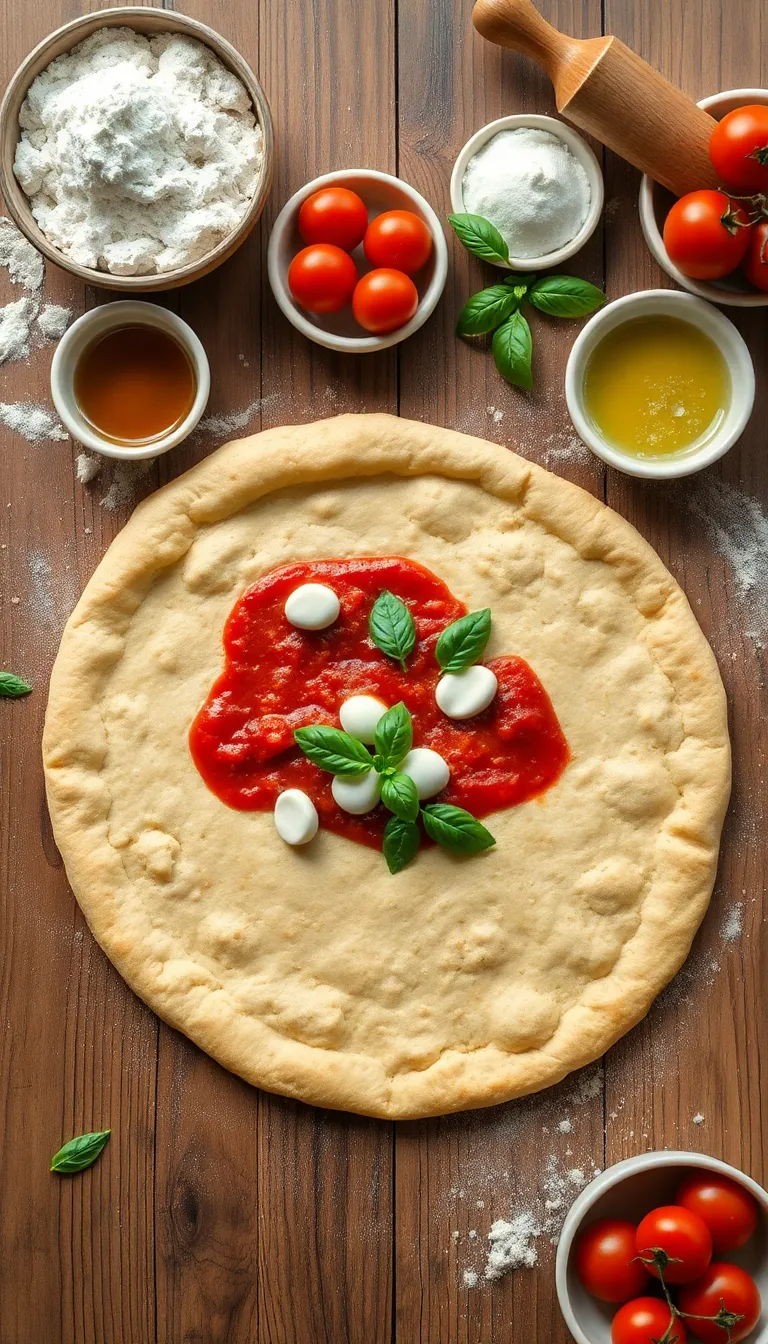
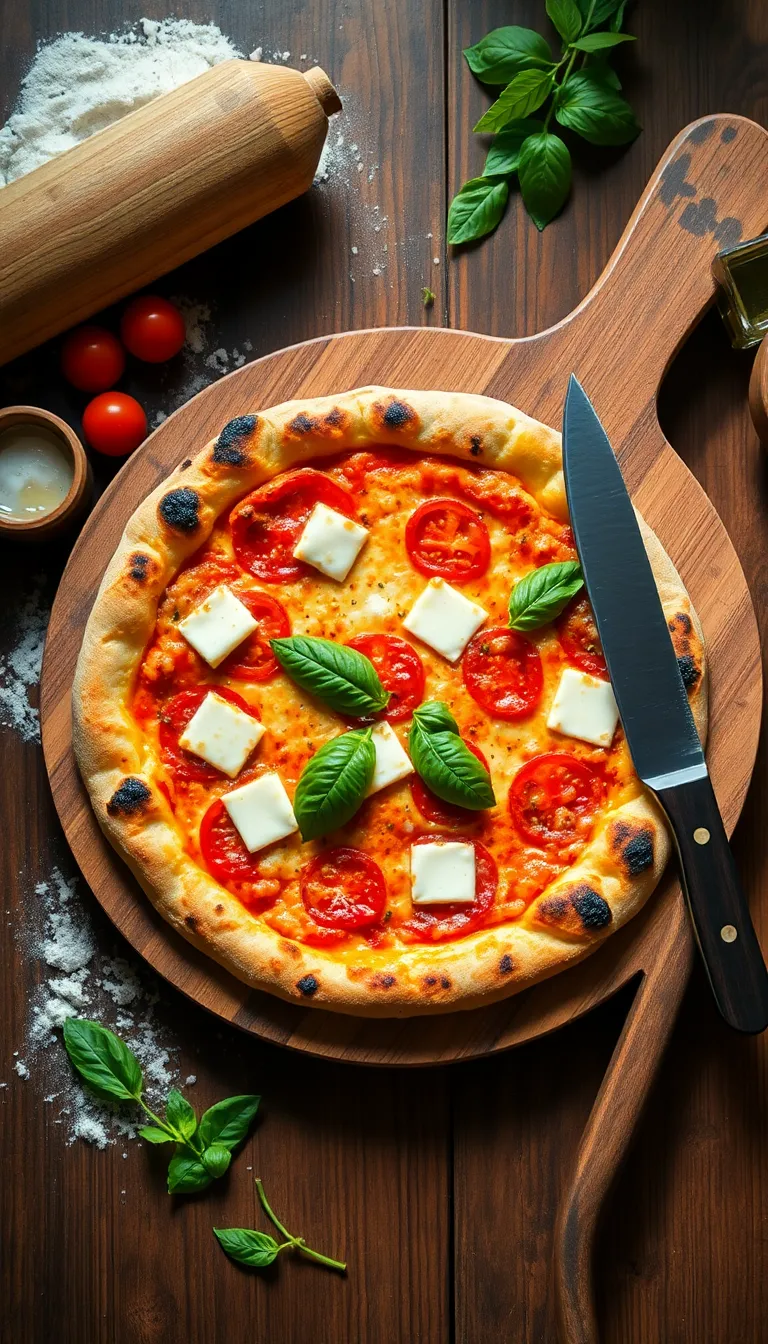
- Classic Margherita Pizza: Top your pizza dough with fresh mozzarella, ripe tomatoes, and basil leaves. This simple combination lets the flavor of the dough shine while providing a fresh, aromatic experience. Garnish with a drizzle of extra virgin olive oil and a sprinkle of sea salt for enhanced flavor.
- BBQ Chicken Pizza: Spread a layer of BBQ sauce over the dough and top with grilled chicken, red onions, and cilantro. The sweet and tangy BBQ sauce pairs perfectly with the savory dough. Serve with a side of coleslaw to complement the flavors.
- Prosciutto and Arugula Pizza: After baking, top your pizza with thin slices of prosciutto and a handful of fresh arugula. The salty prosciutto and peppery arugula are a delightful contrast that adds sophistication. Drizzle with balsamic glaze for a touch of sweetness.
- Veggie Lover’s Pizza: Load your pizza with a variety of vegetables like bell peppers, mushrooms, olives, and spinach. This colorful array provides a nutritious and vibrant meal. Pair with a light, crisp white wine to enhance the fresh flavors.
- Four Cheese Pizza: Use a blend of mozzarella, parmesan, gorgonzola, and fontina cheeses to create a rich, creamy topping. The combination of flavors and textures makes for a luxurious pizza experience. Garnish with fresh herbs like oregano or thyme for added depth.
- Pepperoni and Jalapeño Pizza: For those who enjoy a bit of heat, top your pizza with spicy pepperoni slices and fresh jalapeño rings. The spicy kick is balanced by the rich, cheesy base. Serve with an ice-cold beer to cut through the heat and refresh the palate.
Pro Tips for Perfect Results

- Use Cold Water for Slow Fermentation: For a more flavorful dough, consider using cold water when mixing your ingredients. This slows down the fermentation process, allowing for more complex flavors to develop over time.
- Rest the Dough in the Fridge Overnight: If you have the time, let the dough rest in the refrigerator overnight. This enhances the texture and flavor of the crust, resulting in a more artisan-style pizza.
- Weigh Your Flour: For consistent results, weigh your flour instead of using measuring cups. This ensures precision and helps achieve the perfect dough consistency every time.
- Knead with the Paddle Attachment First: Start mixing the dough with the paddle attachment for about one minute before switching to the dough hook. This helps incorporate the ingredients more evenly.
- Keep an Eye on Humidity Levels: Weather can affect dough consistency. If it’s humid, use slightly less water, and if it’s dry, you might need a bit more. Adjust as needed for a smooth, elastic dough.
- Oil Your Hands for Easier Handling: Before shaping the dough, lightly oil your hands to prevent sticking and make handling the dough much easier.
Common Mistakes to Avoid
- Overloading the Stand Mixer: This mistake often occurs when too much dough is mixed at once, leading to strain on the stand mixer. To avoid this, ensure you follow the manufacturer’s capacity guidelines. If your recipe exceeds this amount, mix in batches to preserve your equipment and ensure even mixing.
- Not Using the Dough Hook: Using the wrong attachment, like a paddle, can result in improperly kneaded dough. Always use the dough hook for pizza dough, as it is designed to handle the elasticity and texture required for proper gluten development.
- Adding Flour Too Quickly: Adding all the flour at once can lead to dry, dense dough. Gradually incorporate flour, allowing it to be fully mixed before adding more. This approach helps achieve the correct dough consistency and ensures even mixing.
- Ignoring Dough Temperature: Cold dough is difficult to work with and may not rise properly. Let your ingredients reach room temperature before mixing, and if the dough feels too cold after kneading, allow it to rest in a warm area before rising.
- Rushing the Rising Process: Many cooks try to speed up the rise by using excessive heat, which can kill the yeast. Allow the dough to rise at room temperature or in a slightly warm, draft-free area to ensure yeast activation and proper dough structure.
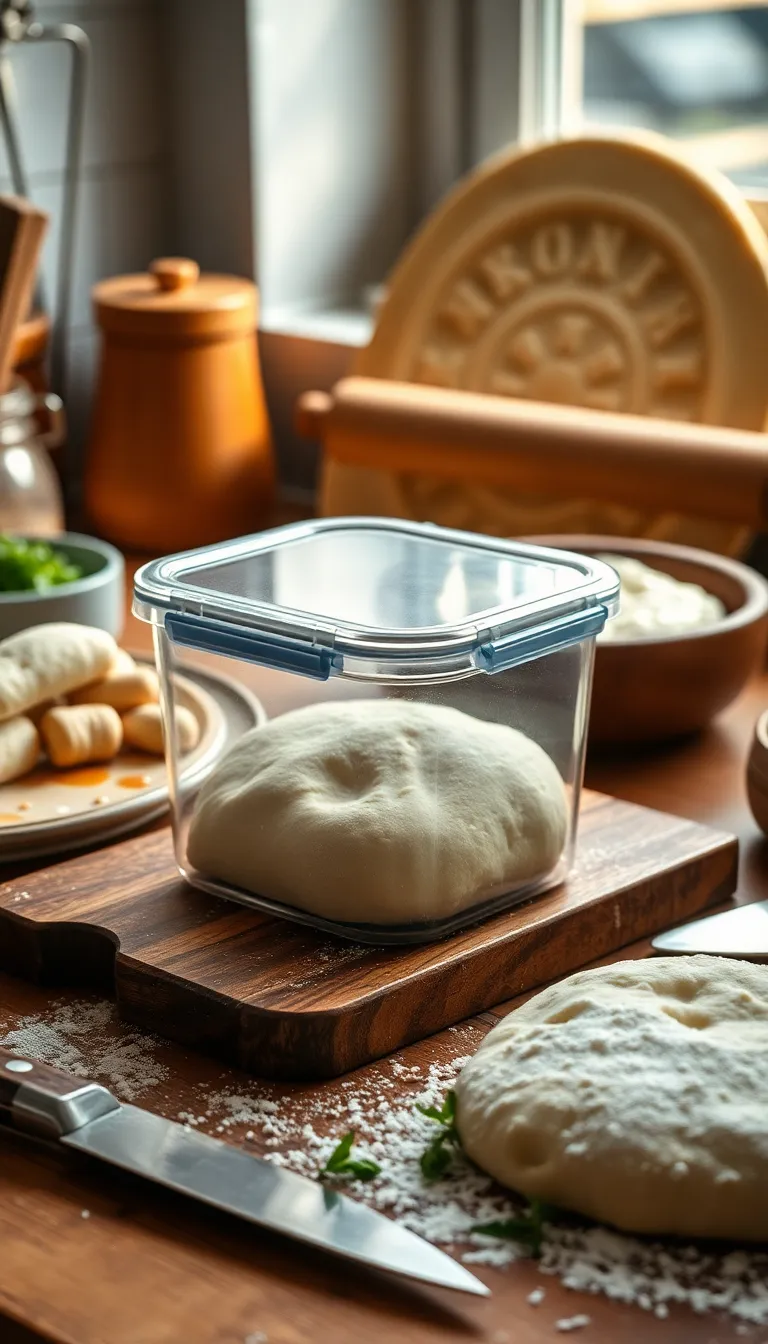
- Improper Dough Storage: If storing dough for later use, failing to cover it properly can lead to drying out. Place the dough in an oiled bowl and cover it with plastic wrap or a damp cloth to maintain moisture and prevent a crust from forming.
Final Thoughts: Making pizza dough with a stand mixer can simplify the process and yield excellent results, but it’s essential to avoid these common pitfalls. By paying attention to your technique, equipment, and ingredient handling, you can ensure a perfect dough every time. Happy cooking!
Storage and Reheating Tips
Storage and Reheating Tips
- Store any unused pizza dough in an airtight container or a resealable plastic bag. Ensure the container or bag is sealed tightly to prevent the dough from drying out.
- Refrigerate the dough for up to 3 days. Beyond this timeframe, the dough may lose its optimal texture and flavor.
- If you plan to store the dough for longer periods, consider freezing it. Wrap the dough tightly in plastic wrap and then place it in a freezer-safe bag or container. Label with the date for easy tracking.
- The dough can be frozen for up to 3 months. To use, thaw in the refrigerator overnight before shaping and baking.
- When ready to use refrigerated or thawed dough, allow it to come to room temperature by leaving it out for about 30 minutes. This will make it easier to shape and result in a better texture once baked.
- Reheat baked pizza slices by placing them in a preheated oven at 350°F (175°C) for about 5-10 minutes. This method keeps the crust crispy and cheese bubbly, without making the pizza soggy.
- For a quicker reheating option, use a skillet on medium heat. Cover the skillet with a lid to help melt the cheese, reheating the pizza for about 5 minutes.
- Avoid microwaving the pizza slices if possible, as this can make the crust chewy and less enjoyable.
- Always ensure leftovers are reheated to an internal temperature of at least 165°F (74°C) to ensure safety.
Frequently Asked Questions
Frequently Asked Questions
Q: Can I use all-purpose flour instead of bread flour for this pizza dough recipe?
- Yes, you can use all-purpose flour, but the dough might be less chewy. Bread flour has a higher protein content which gives the crust a chewier texture.
Q: What if I don’t have a stand mixer? Can I still make this pizza dough?
- Absolutely! You can mix the ingredients by hand and knead the dough manually for about 10 minutes until it becomes smooth and elastic.
Q: How can I tell if the dough has been kneaded enough?
- Perform the windowpane test: stretch a small piece of dough between your fingers; if it stretches without tearing and becomes translucent, it’s ready.
Q: Can I freeze the pizza dough for later use?
- Yes, you can freeze the dough after the first rise. Wrap it tightly in plastic wrap and place it in a freezer bag for up to three months.
Q: What is the best way to prevent the dough from sticking to the bowl?
- Coat the bowl lightly with olive oil before placing the dough inside. This will prevent sticking and make it easier to remove.
Q: How can I make the pizza crust more flavorful?
- Consider adding herbs such as oregano or basil, or a tablespoon of grated Parmesan cheese to the dough for extra flavor.
Final Thoughts
This stand mixer pizza dough recipe is a game-changer for home cooks, offering the perfect blend of simplicity and flavor. With just a few ingredients and minimal effort, you can create a dough that’s both fluffy and chewy, making every slice of pizza utterly irresistible. The ease of using a stand mixer ensures that even novice cooks can achieve professional-quality results at home.
Don’t hesitate to experiment with this recipe and make it your own by adding herbs or experimenting with different flours. Cooking is an adventure, and creating something uniquely yours adds a personal touch that everyone will appreciate. Sharing a homemade pizza crafted from this dough can turn any meal into a special occasion.
We warmly invite you to try this recipe and experience the satisfaction of creating delicious pizza from scratch. Whether you’re cooking for family or hosting a gathering, this recipe is sure to impress and delight. So grab your stand mixer and get ready to enjoy the magic of homemade pizza!
Hi there! I’m Himani and welcome to Val’s Recipe Box. This little corner of the internet didn’t begin with me. It began with Val my neighbourhood aunt whose kitchen held more warmth than any fireplace ever could.


 This little corner of the internet didn’t begin with me.
It began with Val my neighbourhood aunt whose kitchen held more warmth than any fireplace ever could.
She was more of a friend and I’ve come to know her in the most unexpected way.
This little corner of the internet didn’t begin with me.
It began with Val my neighbourhood aunt whose kitchen held more warmth than any fireplace ever could.
She was more of a friend and I’ve come to know her in the most unexpected way.