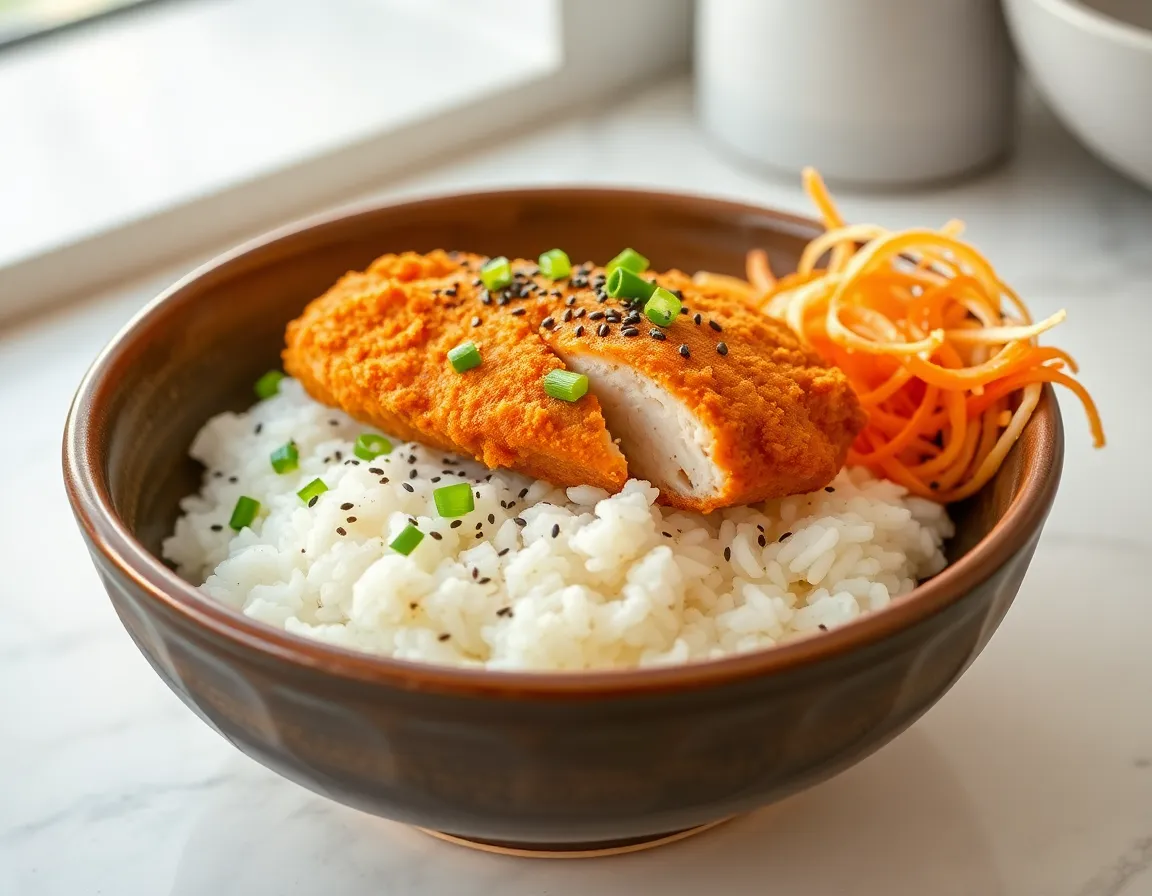
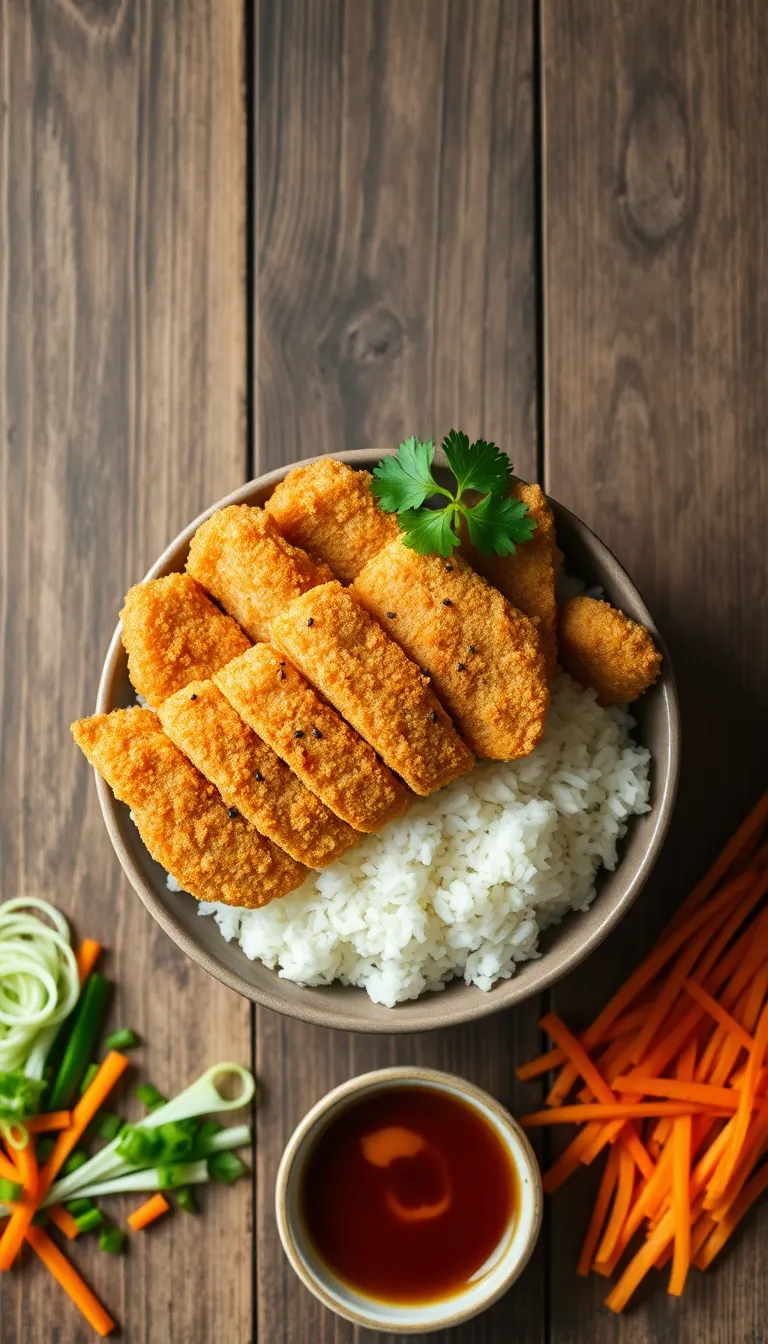
Embark on a culinary adventure with chicken katsu rice bowls, a dish that transforms simple ingredients into a symphony of flavors and textures. Whether you’re a novice in the kitchen or a seasoned chef, this recipe promises a delightful experience, featuring crispy, golden-brown chicken cutlets nestled atop fluffy rice, all brought together with a delectable tangy sauce.
Imagine the satisfying crunch of perfectly fried katsu paired with the subtle sweetness and umami of the sauce, creating a harmony that dances on your taste buds. The combination of tender chicken, fragrant rice, and vibrant garnishes offers a sensory delight that’s both comforting and exciting. Rest assured, with this recipe in hand, you’ll confidently create a meal that impresses both your palate and your guests.
About This chicken katsu rice bowls Recipe
- Quick and Easy: This chicken katsu rice bowl can be on your table in under 30 minutes, making it perfect for busy weeknights.
- Crispy Perfection: The chicken is coated in panko breadcrumbs, giving it a delightfully crispy texture that contrasts beautifully with the soft, fluffy rice.
- Flavor Explosion: The combination of savory, umami-rich katsu sauce and tender chicken creates a mouthwatering dish that will satisfy your taste buds.
- Customizable: Easily adapt the recipe by adding your favorite vegetables or switching up the sauce to suit your personal preferences.
- Nutritious and Balanced: With lean protein, whole grains, and the option to include vegetables, this meal offers a balanced approach to a delicious dinner.
- Family-Friendly: Kids and adults alike will love the familiar flavors and fun presentation of this rice bowl, making it an instant hit at the dinner table.
Why You’ll Love This Recipe
- Crispy Perfection: The chicken katsu is coated in a golden, crunchy panko breadcrumb crust that stays crispy even after cooking.
- Quick and Easy: This recipe comes together in under 30 minutes, making it perfect for busy weeknights.
- Flavor Explosion: Enjoy the savory umami of the katsu sauce combined with the tender, juicy chicken for a truly delightful meal.
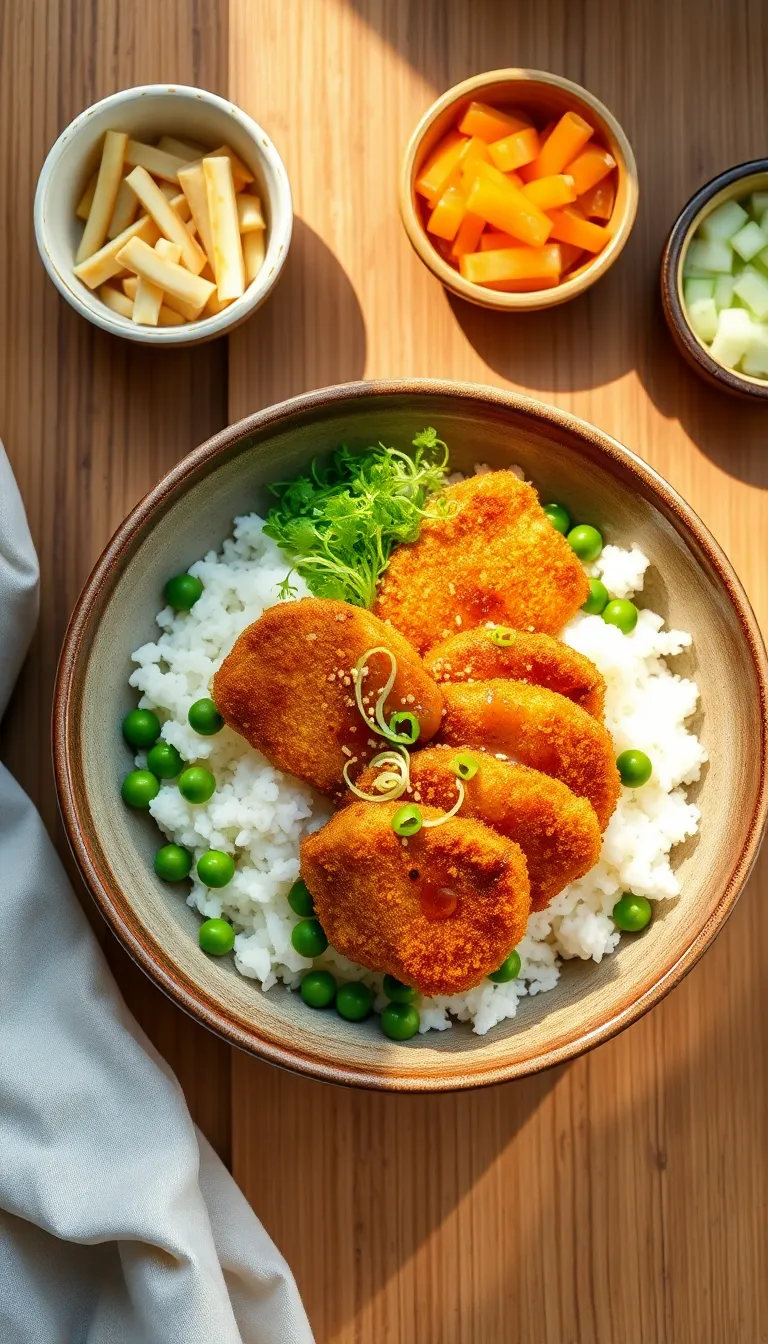
- Healthy Balance: Served over a bed of fluffy rice with fresh vegetables, this dish offers a balanced mix of proteins, carbs, and vitamins.
- Customizable Bowl: Easily adapt the rice bowl with your favorite vegetables and garnishes to suit your taste preferences.
- Kid-Friendly: The mild flavors and crispy texture make this dish a hit with kids and adults alike.
Ingredients
- 2 cups short-grain white rice
- 2 1/2 cups water
- 1/4 cup rice vinegar
- 2 tablespoons sugar
- 1 teaspoon salt
- 4 boneless, skinless chicken thighs
- 1/2 teaspoon salt
- 1/4 teaspoon black pepper
- 1 cup all-purpose flour
- 2 large eggs, beaten
- 2 cups panko breadcrumbs
(Japanese-style breadcrumbs for extra crunch)
- 1/2 cup vegetable oil
(or any neutral oil such as canola or sunflower)
- 1/4 cup tonkatsu sauce
(a tangy Japanese sauce; can substitute with a mix of ketchup and Worcestershire sauce)
- 1/2 cup shredded cabbage
(optional)
- 2 green onions, sliced
(optional)
- 1 tablespoon toasted sesame seeds
(optional)
Kitchen Tools You’ll Need
- Cutting Board: Essential for safely slicing and preparing the chicken and other ingredients. Use a separate board for raw meat to avoid cross-contamination.
- Chef’s Knife: Necessary for cutting the chicken breasts into thin cutlets and for chopping any vegetables or garnishes.
- Meat Mallet: Used to pound the chicken into even thickness, ensuring it cooks evenly. If unavailable, a heavy skillet can be used as an alternative.
- Mixing Bowls: Needed for preparing the breading station with flour, beaten eggs, and panko breadcrumbs.
- Large Skillet or Frying Pan: Required for frying the chicken cutlets to a crispy golden brown. A cast-iron skillet or non-stick pan can also work well.
- Paper Towels: Useful for patting the chicken dry before breading and for draining excess oil from the cooked cutlets.
- Rice Cooker or Saucepan: Used for cooking the rice to serve as the base of the bowl. A saucepan with a lid can be an alternative if a rice cooker is unavailable.
- Tongs: Handy for flipping the chicken in the pan and removing it once it’s cooked, helping to keep the breading intact.
Preparation Steps
- Prepare the chicken by slicing each breast into thin cutlets, about 1/2 inch thick. Tip: Use a sharp knife for clean cuts.
- Season the chicken cutlets with salt and pepper on both sides.
- Set up a breading station with three shallow dishes: one with flour, one with beaten eggs, and one with panko breadcrumbs.
- Dredge each chicken cutlet in flour, then dip in the eggs, and finally coat with panko, pressing gently to adhere the breadcrumbs.
- Heat about 1/4 inch of vegetable oil in a large skillet over medium-high heat until shimmering. Warning: Oil is ready when a breadcrumb sizzles upon contact.
- Fry the chicken cutlets in batches for 3-4 minutes per side, or until golden brown and cooked through. Visual cue: The chicken should reach an internal temperature of 165°F.
- Transfer the fried cutlets to a paper towel-lined plate to drain excess oil.
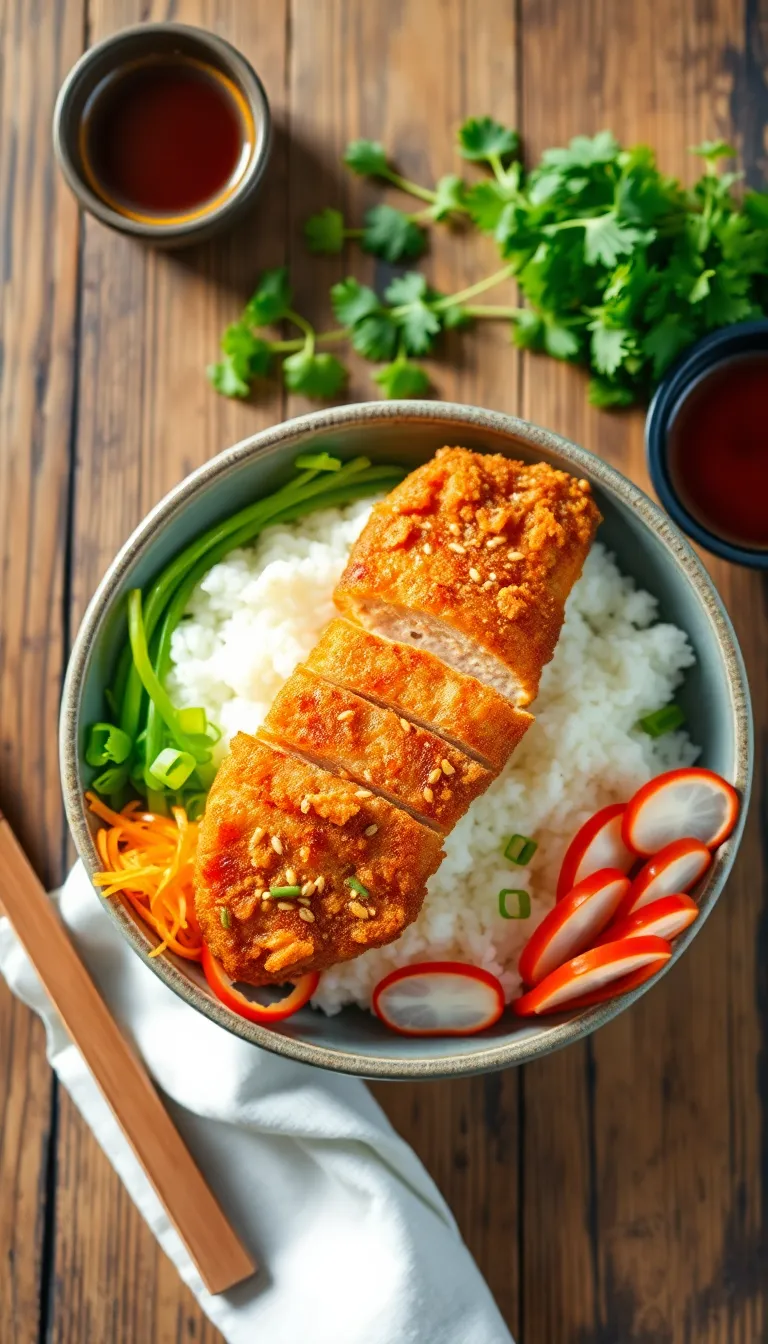
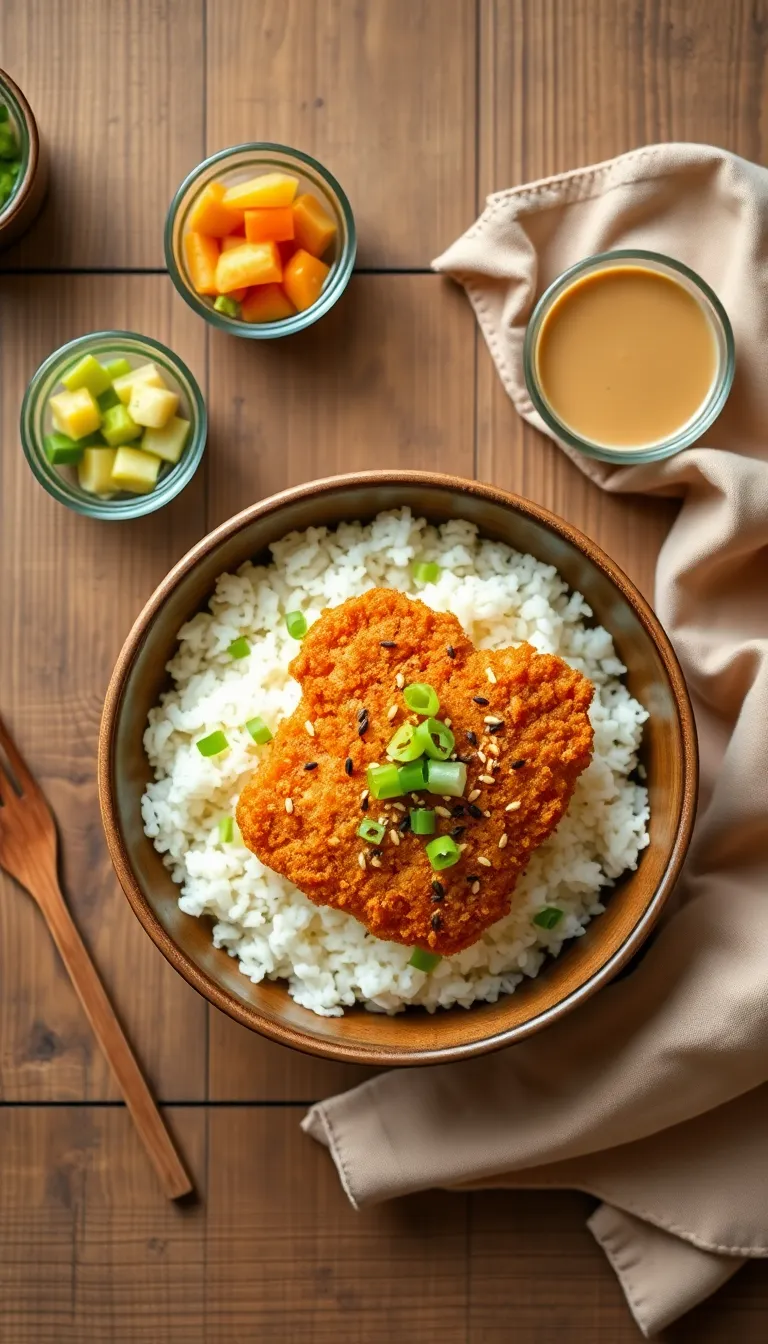
- Assemble the rice bowls by placing a serving of cooked rice in each bowl, topping with sliced chicken katsu, and garnishing with your choice of toppings such as sliced green onions, pickled vegetables, or katsu sauce.
Serving Suggestions
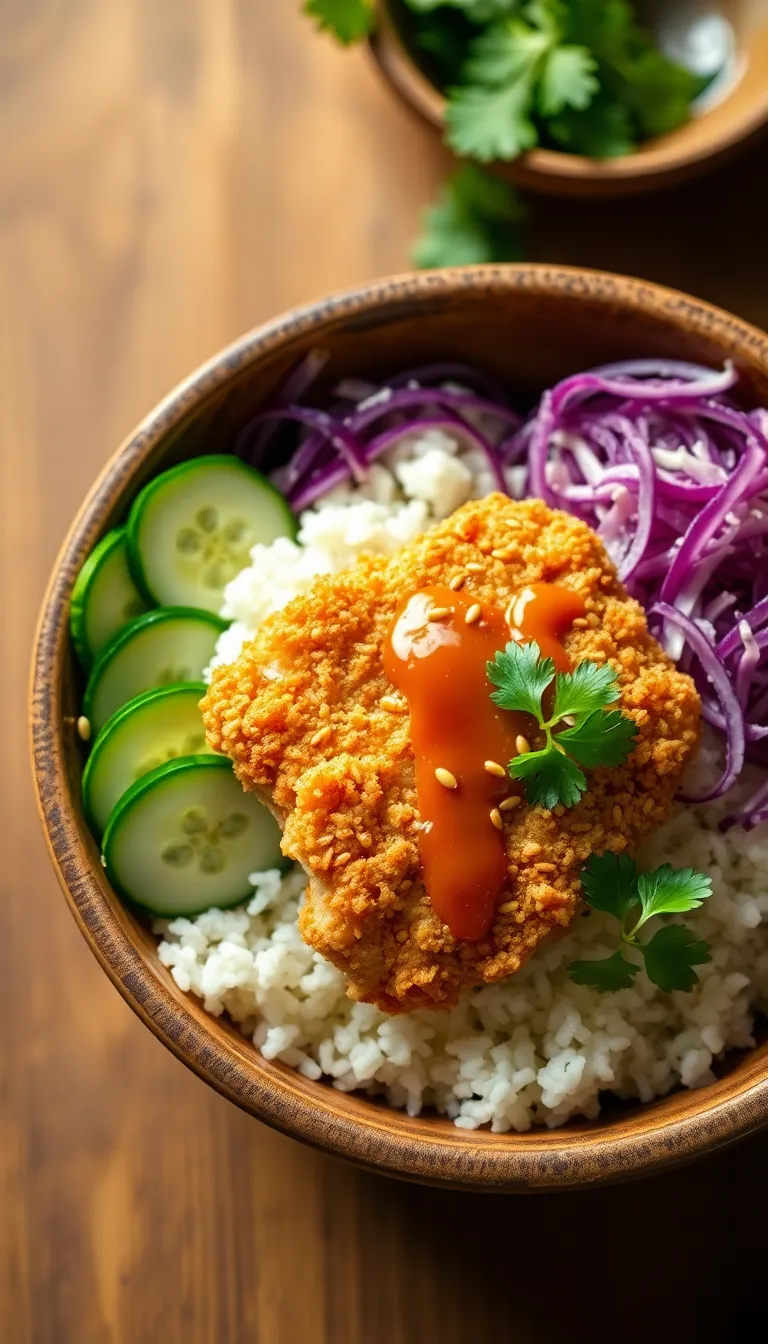
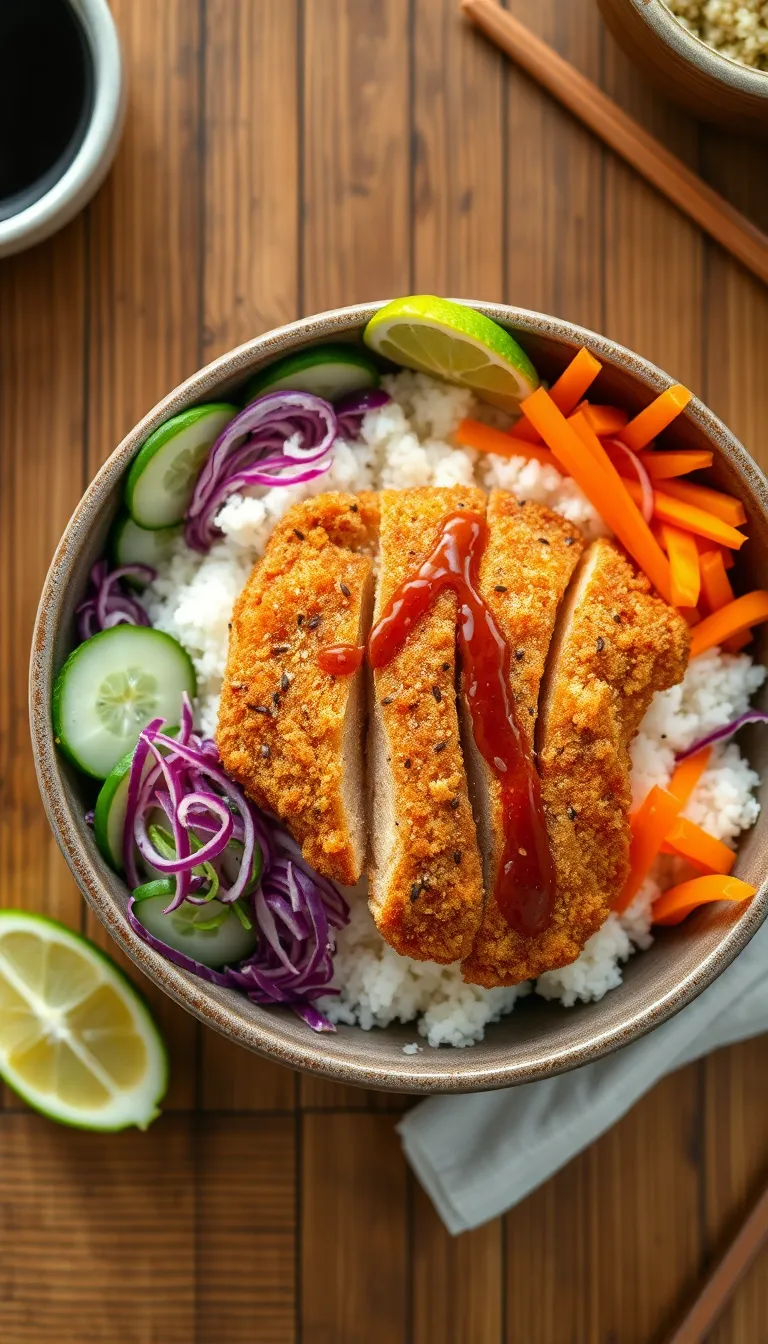
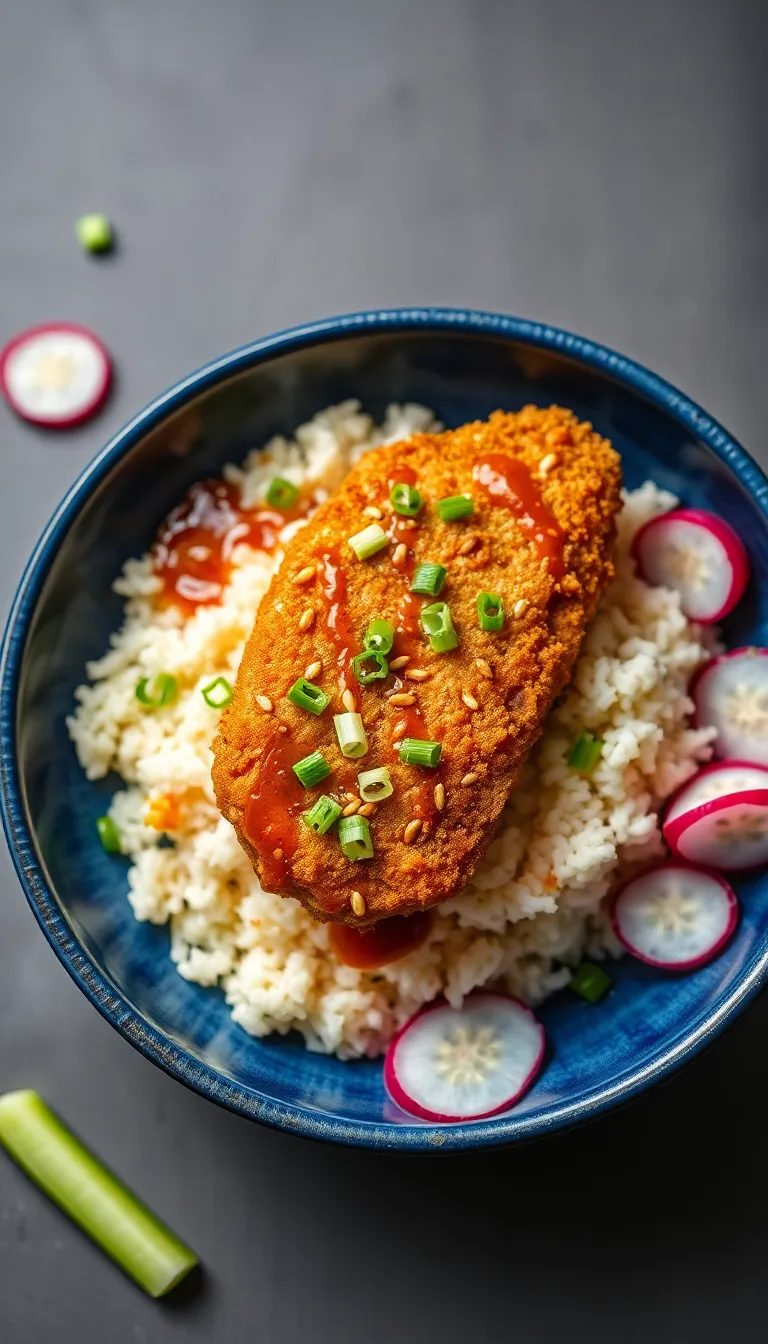
- Serve with Pickled Vegetables: Adding a side of pickled cucumbers or radishes complements the crunchy texture of the chicken katsu and adds a refreshing tang that balances the richness of the dish.
- Garnish with Fresh Herbs: A sprinkle of chopped scallions or cilantro on top of the rice bowl adds a burst of color and a hint of freshness to each bite, enhancing both presentation and flavor.
- Add a Soft-Boiled Egg: Place a halved, soft-boiled egg on the side of the bowl for extra protein and a creamy texture that pairs beautifully with the crispy chicken.
- Pair with Miso Soup: Serving a warm bowl of miso soup alongside your chicken katsu rice bowl creates a comforting meal that is both light and satisfying, perfect for lunch or dinner.
- Accompany with Green Tea: A cup of hot or iced green tea makes a refreshing beverage choice that cleanses the palate and complements the savory flavors of the dish.
- Top with Sesame Seeds: Sprinkle toasted sesame seeds over the chicken for an added layer of nutty flavor and an appealing visual contrast against the golden katsu.
Pro Tips for Perfect Results

- Use Panko for Extra Crunch: Opt for Japanese panko breadcrumbs over regular ones. They are lighter and will give your chicken katsu an exceptionally crispy texture.
- Double-Fry for Perfection: Fry the chicken cutlets twice for extra crispiness. First, fry them until lightly golden, then let them rest for a few minutes before frying them again until fully golden and crispy.
- Marinate the Chicken: For deeper flavor, marinate the chicken in a mixture of soy sauce, ginger, and garlic for at least 30 minutes before breading and frying. This adds a subtle yet impactful flavor to the meat.
- Make the Rice Ahead: Cook the rice a day in advance and refrigerate it. This allows the rice to firm up, making it easier to achieve the perfect separate grain texture when reheated.
- Rest the Cutlets: After frying, let the chicken rest on a wire rack rather than paper towels. This prevents the bottom from becoming soggy and maintains the crunchiness.
- Chef’s Secret: Add a Touch of Kewpie Mayo: For an authentic Japanese touch, drizzle a small amount of Kewpie mayo over the chicken before serving. It enhances the umami flavor and adds a creamy contrast to the crispy texture.
Common Mistakes to Avoid
- Overcrowding the Pan: This common mistake can lead to the chicken steaming rather than frying, resulting in a less crispy crust. To avoid this, fry the chicken pieces in batches, ensuring there’s enough space around each piece for even cooking. This will help achieve that perfect golden brown exterior.
- Using Cold Chicken: Frying chicken straight from the fridge can cause the oil temperature to drop, leading to uneven cooking and a greasy result. Let the chicken sit at room temperature for about 15-20 minutes before breading and frying. This will help maintain the oil temperature and cook the chicken more evenly.
- Incorrect Oil Temperature: Frying at too low a temperature makes the chicken absorb more oil, while too high a temperature can burn the crust before the chicken is cooked through. Use a thermometer to maintain the oil temperature between 325°F and 350°F for best results.
- Skipping the Resting Stage: Cutting into the chicken immediately after frying can cause the juices to escape, resulting in dry meat. Let the chicken rest on a wire rack for a few minutes to allow the juices to redistribute, ensuring a juicy and flavorful bite.
- Improper Breading Technique: Failing to properly coat the chicken in flour, egg, and breadcrumbs can result in uneven coverage and a patchy crust. Make sure to fully coat the chicken in each component, pressing gently to help the breadcrumbs adhere well, which will create a consistent and crispy coating.
Storage and Reheating Tips
- Store any leftover chicken katsu and rice separately in airtight containers to prevent the breading from becoming soggy. This will help maintain the texture of the chicken.
- Refrigerate the leftovers within 2 hours of cooking to ensure food safety. Consume refrigerated chicken katsu within 3-4 days for the best quality.
- If you plan to keep the leftovers for a longer period, consider freezing. Place the chicken katsu in a single layer on a baking sheet and freeze until solid. Then, transfer to a freezer-safe container or bag. The rice can also be frozen in a separate container. Use the frozen chicken katsu and rice within 1-2 months.
- To reheat refrigerated chicken katsu, use an oven or toaster oven preheated to 350°F (175°C). Heat the chicken on a baking sheet for about 10-15 minutes or until warmed through. This method will help retain the crispiness of the breading.
- For reheating rice, add a splash of water to prevent it from drying out and microwave it in a microwave-safe container for 1-2 minutes, stirring halfway through to ensure even heating.
- If reheating from frozen, thaw the chicken katsu and rice in the refrigerator overnight before following the reheating instructions above.
- Avoid reheating chicken katsu in the microwave as it can make the breading soggy. If using a microwave, do so only as a last resort and expect a decrease in texture quality.
- Always check the internal temperature of the chicken katsu before consuming. It should reach 165°F (74°C) to ensure it is safe to eat.
Proper storage and reheating are essential for maintaining the quality and safety of your chicken katsu rice bowls. By following these guidelines, you can enjoy delicious leftovers that are just as satisfying as when freshly made.
Frequently Asked Questions
Frequently Asked Questions
Q: Can I use chicken thighs instead of chicken breasts for this recipe?
- Yes, chicken thighs can be used as they are juicier and provide a richer flavor. Adjust the cooking time slightly to ensure they are cooked through.
Q: What can I use as a substitute for panko breadcrumbs?
- You can use regular breadcrumbs or crushed cornflakes as a substitute, but panko provides a lighter, crispier texture.
Q: How do I prevent the breading from falling off during frying?
- Ensure the chicken is well-coated with flour, egg, and panko. Press the panko firmly onto the chicken and let it rest for a few minutes before frying.
Q: What sauce pairs well with chicken katsu?
- Tonkatsu sauce is the traditional choice, but you can also use a sweet chili sauce or teriyaki sauce for a different flavor profile.
Q: Can I bake the chicken instead of frying it?
- Yes, bake at 400°F (200°C) for 20-25 minutes or until the chicken is cooked through and crispy. Use a wire rack to promote even cooking.
Q: How can I make the dish gluten-free?
- Use gluten-free panko and substitute the flour with gluten-free all-purpose flour or a similar option.
Final Thoughts: Preparing a delicious chicken katsu rice bowl at home is both rewarding and satisfying. By understanding the potential substitutions and techniques, you can tailor the recipe to your taste and dietary preferences. Whether you’re a seasoned cook or just starting, these tips will help you create a meal that’s sure to impress. Enjoy experimenting with flavors and perfecting your technique!
Final Thoughts
This chicken katsu rice bowls recipe combines crispy, golden-brown chicken with fluffy rice, creating a comforting and satisfying meal that’s both delicious and easy to prepare. The harmonious blend of texture and flavor makes it a standout dish that’s worth adding to your culinary repertoire. It’s a delightful fusion of simplicity and taste that will surely impress your family and friends.
Feel free to personalize this recipe by adding your favorite vegetables or sauces to make it uniquely yours. Experimenting with different accompaniments can add exciting new dimensions to the dish. Don’t be afraid to get creative in the kitchen and let your personality shine through in every bite!
We warmly invite you to try this recipe and experience the joy of cooking a delightful meal from scratch. We’re confident that this chicken katsu rice bowl will become a beloved favorite in your household. Happy cooking!
Hi there! I’m Himani and welcome to Val’s Recipe Box. This little corner of the internet didn’t begin with me. It began with Val my neighbourhood aunt whose kitchen held more warmth than any fireplace ever could.


 This little corner of the internet didn’t begin with me.
It began with Val my neighbourhood aunt whose kitchen held more warmth than any fireplace ever could.
She was more of a friend and I’ve come to know her in the most unexpected way.
This little corner of the internet didn’t begin with me.
It began with Val my neighbourhood aunt whose kitchen held more warmth than any fireplace ever could.
She was more of a friend and I’ve come to know her in the most unexpected way.
