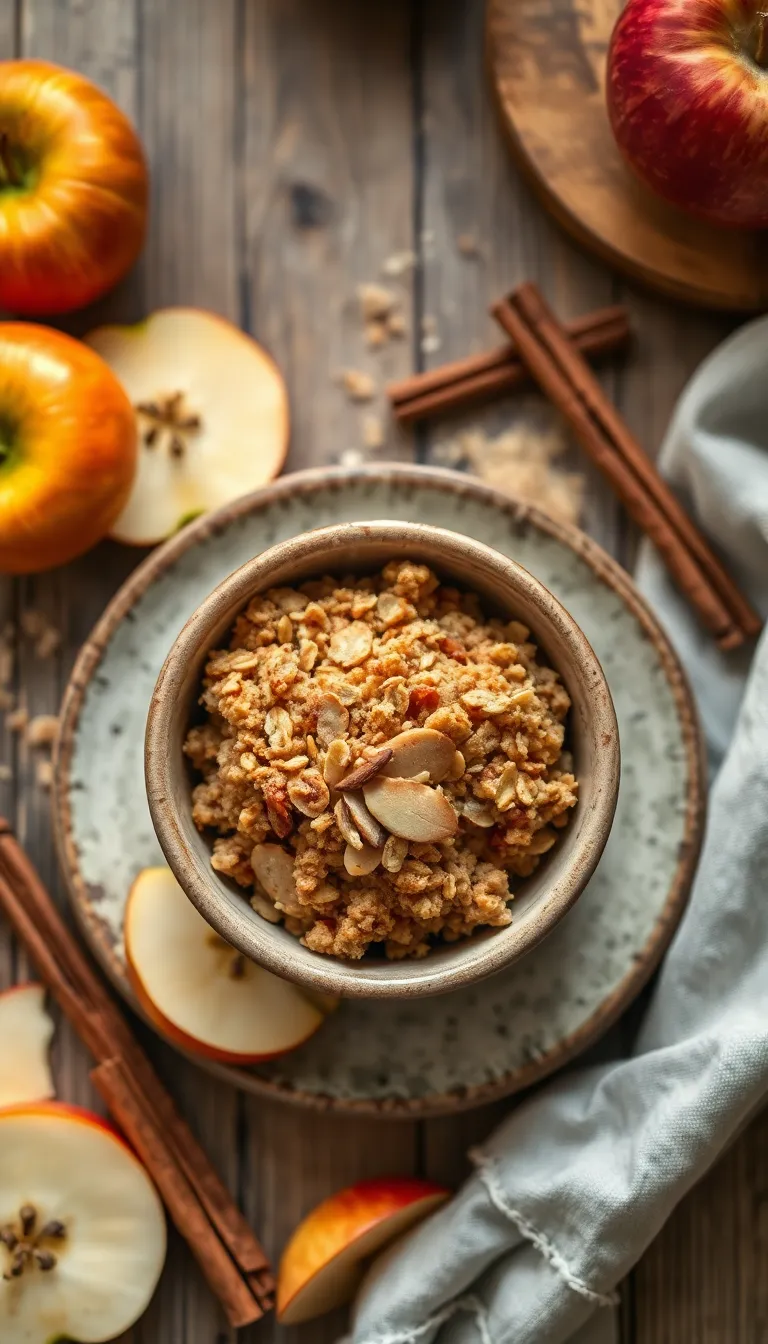
Imagine the comforting aroma of cinnamon and baked apples wafting through your kitchen, drawing everyone in with its warm embrace. Our apple crisp recipe is your ticket to creating that irresistible fragrance and flavor, perfect for both beginners trying their hand at baking and seasoned cooks looking for a classic treat. With its golden, buttery topping and tender, spiced apples, this dish promises a delightful blend of textures and tastes that will have everyone reaching for seconds.
What makes this apple crisp truly special is the combination of tart, fresh apples mingling with a hint of nutmeg and a crunchy oat topping. It’s a symphony of sweetness and spice that’s as satisfying to make as it is to eat. Whether you’re enjoying it on a cool autumn evening or as a cozy winter dessert, you’ll feel confident and excited to serve up a dish that captures the essence of homemade goodness.
About This apple crisp Recipe
- Easy to Make: This apple crisp recipe requires minimal prep time and uses simple ingredients you likely already have in your pantry.
- Irresistible Flavor: The combination of warm, spiced apples and a buttery, crunchy topping creates a delightful contrast that’s sure to satisfy any sweet tooth.
- Perfect for Any Occasion: Whether it’s a cozy night in or a festive gathering, this dessert is versatile and always a crowd-pleaser.
- Customizable: Easily adapt this recipe to suit dietary preferences, such as using gluten-free oats or adding nuts for extra crunch.
- Seasonal Delight: Celebrate the best of fall with this dish, making the most of fresh, juicy apples during their peak season.
- Leftover Friendly: Enjoy it warm from the oven or cold the next day; it tastes just as delicious and makes for a great leftover treat.
Why You’ll Love This Recipe
- Perfect Balance of Sweet and Tart: This apple crisp recipe features a delicious combination of sweet and tart apples, creating a flavor profile that’s both comforting and refreshing.
- Quick and Easy Preparation: With minimal prep time and just a few simple steps, you can enjoy a warm, homemade dessert in less than an hour.
- Wholesome Ingredients: Made with oats and whole wheat flour, this recipe offers a nutritious twist on a classic dessert, adding fiber and heartiness to your treat.
- Customizable Toppings: Whether you prefer a scoop of vanilla ice cream or a dollop of whipped cream, this apple crisp pairs perfectly with your favorite toppings.
- Great for Any Occasion: From casual family dinners to festive holiday gatherings, this versatile dessert fits seamlessly into any event.
- Aromatic and Inviting: The combination of cinnamon and nutmeg fills your home with an irresistible aroma that makes everyone feel welcome and eager to indulge.
Ingredients
- 6 cups sliced apples (such as Granny Smith or Honeycrisp; peeled, cored, and sliced)
- 1 tablespoon lemon juice (to prevent browning)
- 1/3 cup granulated sugar
- 1 teaspoon ground cinnamon
- 1/2 teaspoon ground nutmeg
- 1 cup all-purpose flour
- 1 cup rolled oats (old-fashioned oats work best)
- 1 cup light brown sugar (packed)
- 1/2 cup unsalted butter (melted)
- 1/2 teaspoon salt
- 1/2 cup chopped nuts (such as walnuts or pecans; optional)
- 1/4 teaspoon ground ginger (optional, for extra warmth)
- 1/4 cup caramel sauce (optional, for drizzling on top before serving)
For the topping:
Optional Add-Ons:
Kitchen Tools You’ll Need
- Mixing Bowl: Used to combine the apple filling ingredients and to mix the crisp topping. A large bowl will help contain any mess when stirring ingredients together.
- Measuring Cups and Spoons: Essential for accurately measuring ingredients like flour, sugar, and spices to ensure the apple crisp turns out perfectly balanced.
- Peeler: Necessary for peeling the apples quickly and efficiently. If you don’t have a peeler, a small paring knife can be used as an alternative.
- Knife: A sharp knife is needed to core and slice the apples evenly for consistent cooking.
- Baking Dish: A standard 8×8-inch or 9×9-inch baking dish is ideal for holding the apple crisp while it bakes. If you don’t have one, any similarly sized oven-safe dish will work.
- Oven: Needed to bake the apple crisp until the topping is golden brown and the apples are tender. Preheating the oven ensures even cooking.
- Spatula or Spoon: Useful for spreading the topping evenly over the apple mixture in the baking dish.
Preparation Steps
- Preheat the oven to 350°F (175°C). Ensure the oven rack is in the center position for even baking.
- Peel, core, and slice 6-8 medium apples into 1/4-inch thick pieces. Choose firm apples like Granny Smith or Honeycrisp for the best texture.
- Toss the apple slices in a large bowl with 1/4 cup of granulated sugar, 1 tablespoon of lemon juice, and 1 teaspoon of cinnamon until evenly coated.
- Transfer the apple mixture to a greased 9×13-inch baking dish, spreading them out evenly.
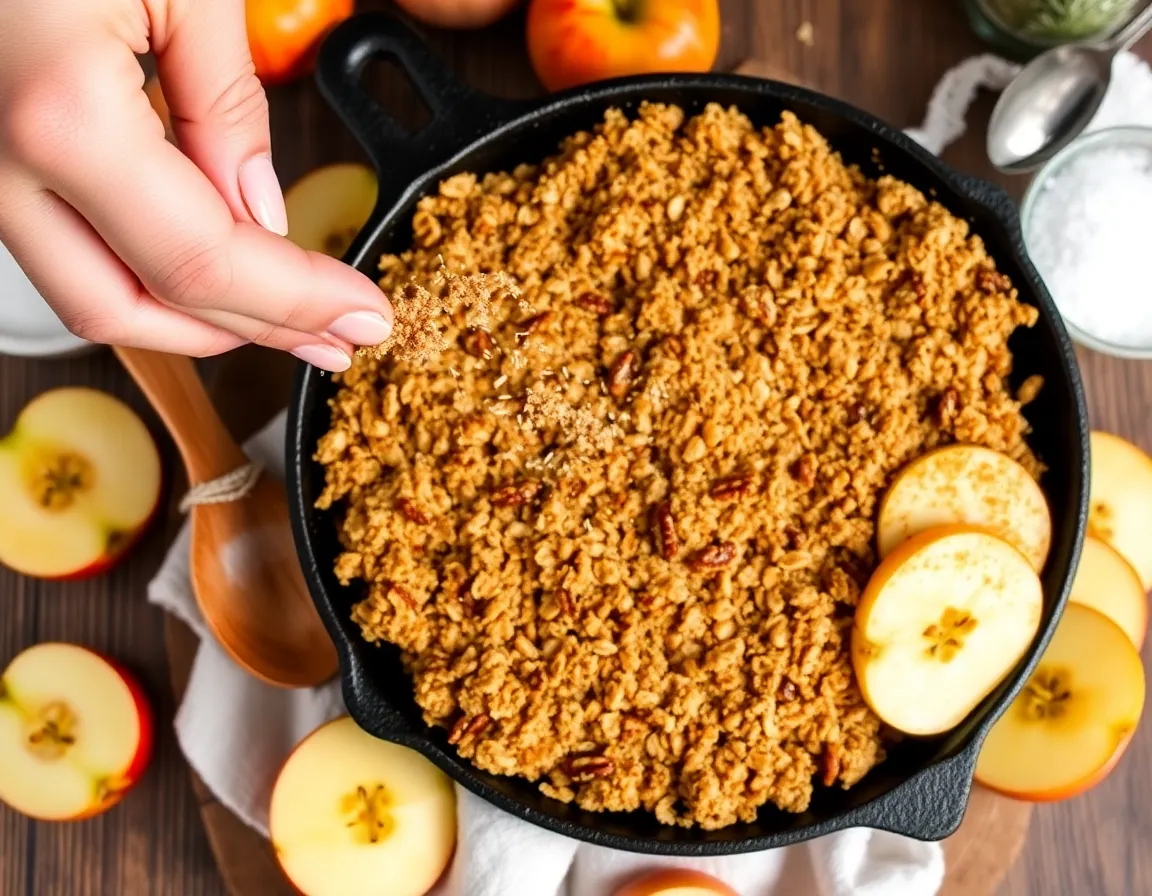
- Combine 1 cup of all-purpose flour, 1 cup of rolled oats, 1 cup of packed brown sugar, and 1/2 cup of melted butter in a separate bowl. Mix until the ingredients form a crumbly texture.
- Sprinkle the crumble mixture evenly over the apples, ensuring all apples are covered. Press gently to compact slightly, which will help form a crispy topping.
- Bake for 35-40 minutes, or until the topping is golden brown and the apples are tender when pierced with a fork. The filling should bubble up around the edges.
- Allow the apple crisp to cool for at least 10 minutes before serving, which will help the juices thicken slightly.
Serving Suggestions
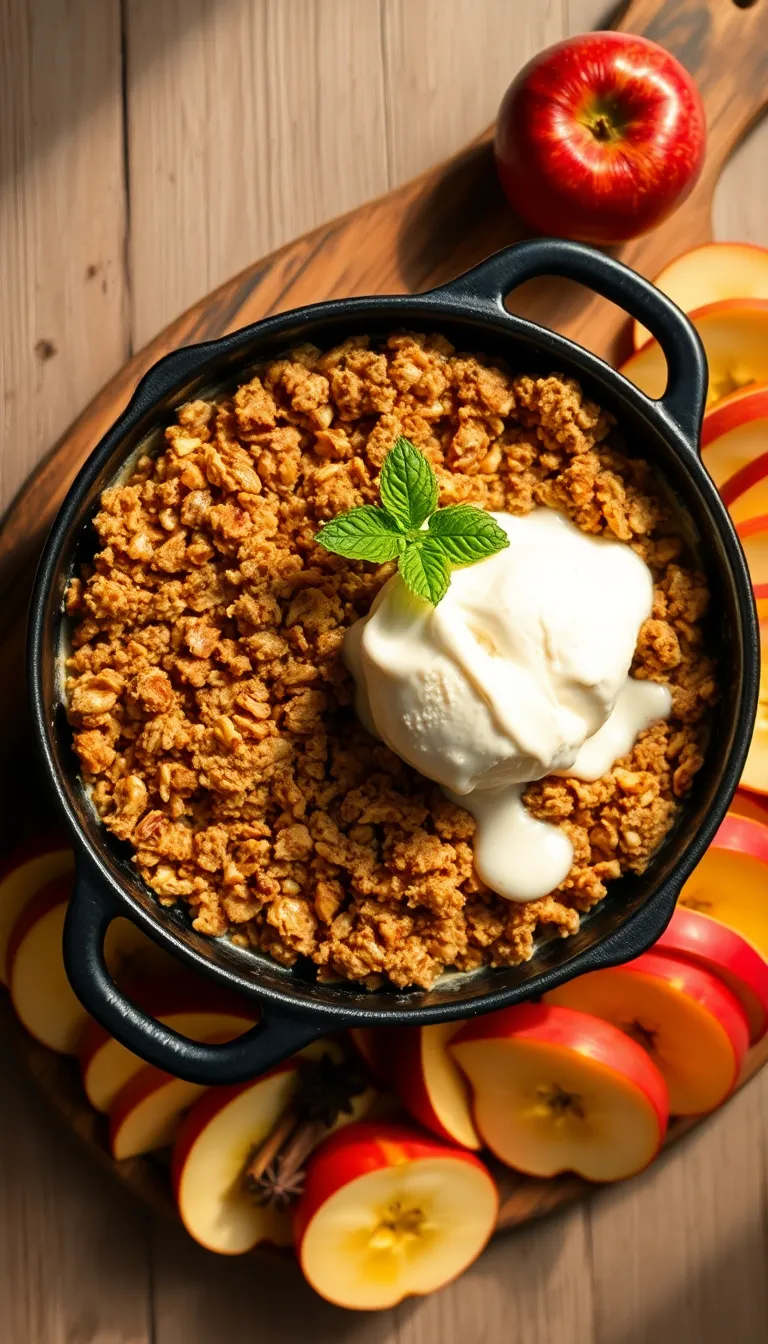
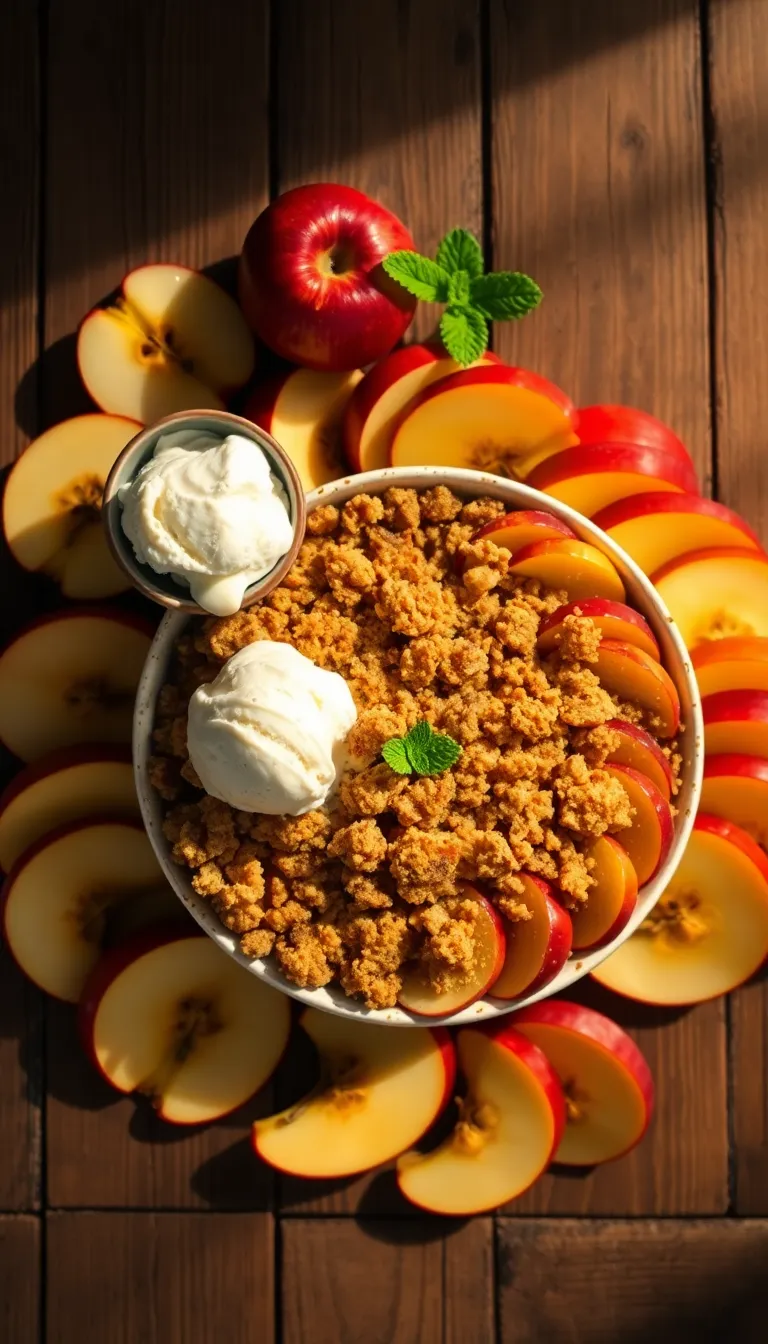
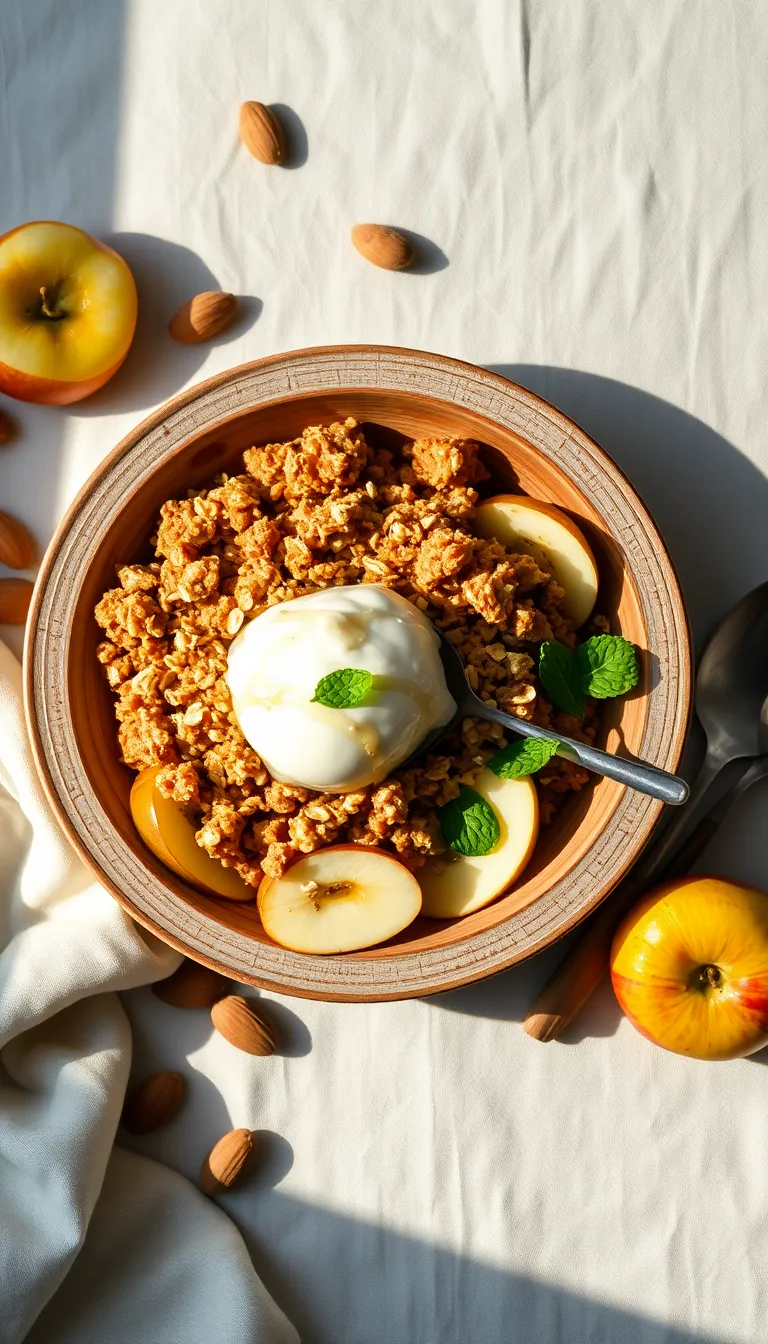
- Vanilla Ice Cream: Serve a scoop of creamy vanilla ice cream on top of the warm apple crisp. The contrast between the hot dessert and cold ice cream creates a delightful mix of textures and temperatures.
- Whipped Cream: Add a dollop of freshly whipped cream to each serving. It adds a light, airy texture and enhances the dessert’s sweetness without overpowering the apple flavor.
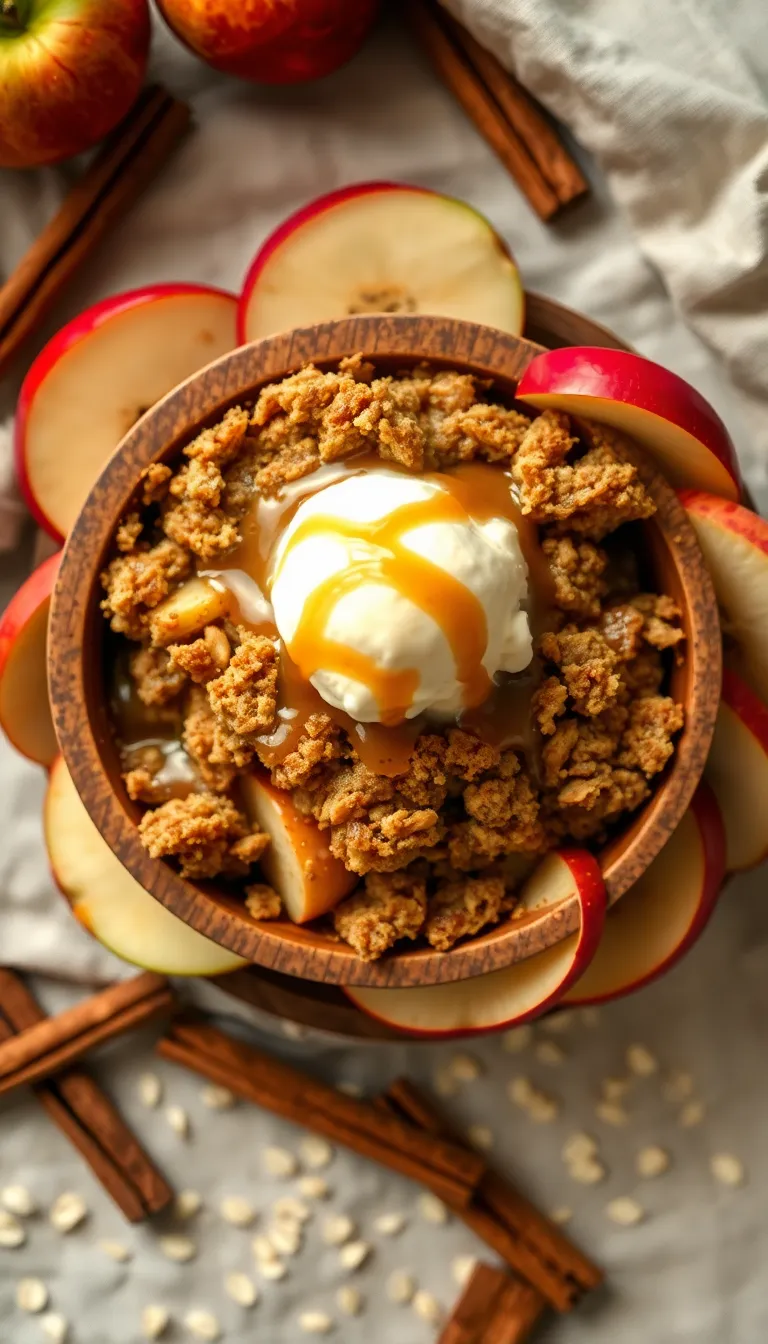
- Caramel Drizzle: Drizzle warm caramel sauce over the apple crisp before serving. The caramel complements the apple and cinnamon flavors, adding a rich, buttery sweetness.
- Chopped Nuts: Sprinkle toasted pecans or walnuts on top of the crisp for added crunch and a nutty depth that pairs beautifully with the soft apples and buttery topping.
- Side of Hot Coffee or Tea: Pair your apple crisp with a cup of hot coffee or spiced tea. The warmth and spice from the beverage enhance the comforting flavors of the dessert, making it perfect for a cozy afternoon treat.
- Cheese Pairing: Serve a slice of sharp cheddar cheese alongside the apple crisp. The savory, tangy cheese provides an interesting contrast to the sweet dessert, ideal for adventurous eaters.
Pro Tips for Perfect Results
- Choose the Right Apples: For a balanced flavor and texture, use a mix of tart and sweet apples like Granny Smith and Honeycrisp. This combination will give your apple crisp a depth of flavor and prevent it from becoming too sweet.
- Pre-Cook the Apples: Sauté the apple slices in a bit of butter before baking. This step helps to caramelize the sugars and ensures the apples are tender and flavorful, avoiding any raw, crunchy texture.
- Enhance with Citrus: Add a splash of lemon or orange juice to the apple mixture. This not only brightens the flavor but also balances the sweetness and enhances the natural apple taste.
- Make Topping Ahead of Time: Prepare the crisp topping in advance and store it in the freezer. This allows for quick assembly whenever you’re ready to bake, and the cold topping will bake into a crispier, crunchier texture.
- Layer the Flavors: Incorporate a pinch of salt and a sprinkle of nutmeg into the topping mix. These additions will enhance the sweetness of the apples and add complexity to the flavor profile.
- Chef’s Secret – Add a Surprise Ingredient: For a subtle twist, sprinkle a small amount of finely chopped fresh rosemary over the apple mixture before adding the topping. It will introduce a savory note that complements the sweetness beautifully.
Common Mistakes to Avoid
- Using the Wrong Apples: Not all apples are suitable for baking. Some varieties become mushy instead of holding their shape. To avoid a soggy apple crisp, use firm apples like Granny Smith or Honeycrisp. These varieties maintain their structure and provide a balanced tartness.
- Skipping the Pre-Cook: Adding raw apples can result in unevenly cooked fruit. To ensure consistent texture, briefly cook the apples with sugar and spices before adding them to your baking dish. This helps soften them evenly and enhances the flavors.
- Overmixing the Topping: Overmixing the crumble topping can lead to a dense, rather than crumbly, texture. To avoid this, use a gentle hand when combining the flour, oats, sugar, and butter. Mix just until clumps form, ensuring a light and crispy topping.
- Underbaking the Crisp: Pulling the crisp out of the oven too early leads to a topping that is not fully cooked. To ensure it’s perfectly golden and crisp, bake until the topping is deep golden brown and the apple filling is bubbling around the edges. This usually takes about 45-50 minutes.
- Neglecting to Cool: Cutting into the apple crisp immediately can result in a runny filling. Allow the crisp to cool for at least 15-20 minutes after baking. This will help the filling set and make serving easier, ensuring each portion holds its shape.
Storage and Reheating Tips
- Allow the apple crisp to cool to room temperature before storing to prevent condensation, which can lead to sogginess.
- Transfer the cooled apple crisp to an airtight container or cover it tightly with plastic wrap or aluminum foil. Ensure the container is sealed properly to maintain freshness.
- Refrigerate the apple crisp for up to 4 days. Do not leave it at room temperature for more than 2 hours to prevent bacterial growth.
- For longer storage, you can freeze the apple crisp. Wrap it tightly in plastic wrap and then in aluminum foil, or use a freezer-safe airtight container. Freeze for up to 3 months.
- When ready to use frozen apple crisp, thaw it in the refrigerator overnight before reheating.
- To reheat, preheat your oven to 350°F (175°C). Place the apple crisp in an oven-safe dish and cover it with foil to prevent the topping from burning. Heat for about 15-20 minutes or until warmed through.
- For a quick option, reheat individual portions in the microwave. Place a serving on a microwave-safe plate, cover it with a microwave-safe lid or another plate, and heat on medium power for about 1-2 minutes. Be careful not to overheat, as this can make the topping chewy.
- To restore some crispness to the topping, you can briefly place the microwaved portion under a broiler for 1-2 minutes.
- Food Safety Tip: Always reheat leftovers to an internal temperature of 165°F (74°C) to ensure they are safe to eat.
Frequently Asked Questions
Frequently Asked Questions
Q: Can I use a different type of apple for this apple crisp recipe?
- Yes, you can use any firm apple variety such as Granny Smith, Honeycrisp, or Fuji for a different flavor and texture.
Q: How can I make this recipe gluten-free?
- Substitute the all-purpose flour with a gluten-free flour blend to make the topping gluten-free.
Q: What should I do if my apple crisp turns out too watery?
- Try adding a tablespoon of cornstarch to the apple mixture to help absorb excess moisture.
Q: Is it possible to prepare the apple crisp in advance?
- Yes, you can assemble it a day ahead and store it in the refrigerator, then bake it just before serving.
Q: Can I use oats in the topping?
- Absolutely, adding rolled oats to the topping will give it a deliciously crunchy texture.
Q: How do I prevent the topping from becoming soggy?
- Ensure the topping is spread evenly and baked until golden brown for the best crispiness.
Final Thoughts
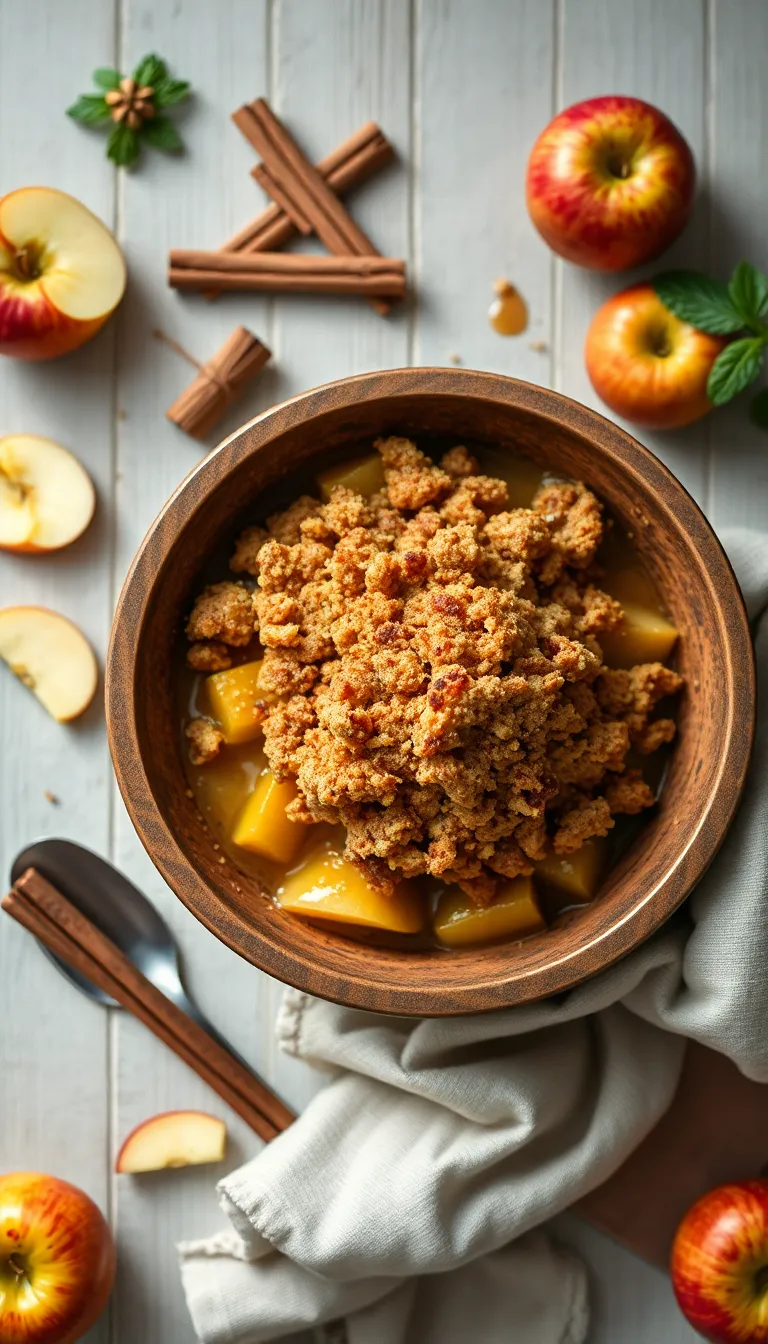
The apple crisp recipe is a timeless classic, offering a delightful blend of sweet, tart apples with a buttery, crumbly topping. It’s a comforting dessert that brings warmth to any meal, making it perfect for both cozy family gatherings and special occasions. The simplicity and deliciousness of this recipe truly make it a must-try for anyone who loves homemade desserts.
Feel free to make this recipe your own by adding a pinch of cinnamon or a handful of chopped nuts to the topping for an extra layer of flavor. Experimenting with different types of apples can also yield exciting results, so don’t hesitate to explore what you have on hand. Your personal touch will make this dessert even more special, and you’re sure to impress with your unique twist on this classic treat.
We warmly invite you to try this apple crisp recipe and experience the joy of creating something delicious and comforting in your kitchen. Whether you’re a seasoned baker or just starting out, you’ll find this recipe to be both rewarding and satisfying. Happy baking!
Hi there! I’m Himani and welcome to Val’s Recipe Box. This little corner of the internet didn’t begin with me. It began with Val my neighbourhood aunt whose kitchen held more warmth than any fireplace ever could.


 This little corner of the internet didn’t begin with me.
It began with Val my neighbourhood aunt whose kitchen held more warmth than any fireplace ever could.
She was more of a friend and I’ve come to know her in the most unexpected way.
This little corner of the internet didn’t begin with me.
It began with Val my neighbourhood aunt whose kitchen held more warmth than any fireplace ever could.
She was more of a friend and I’ve come to know her in the most unexpected way.