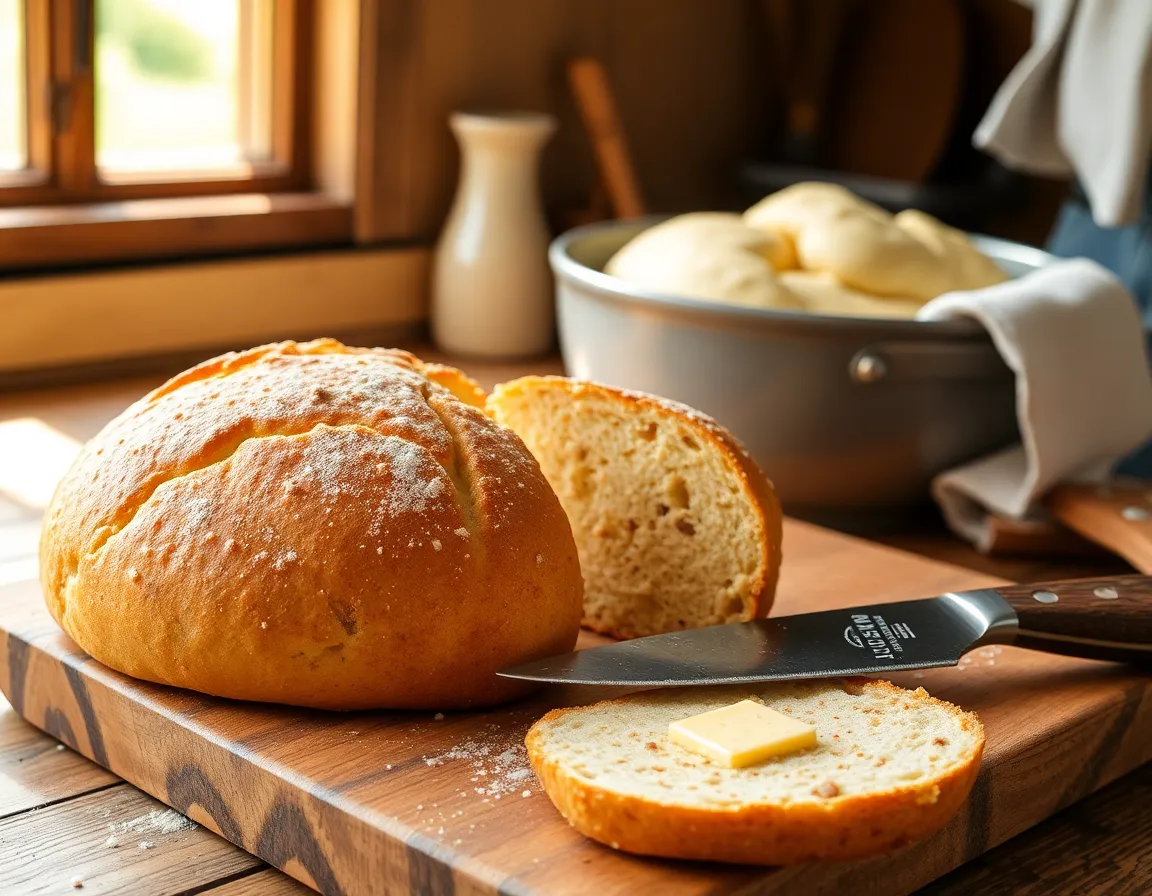
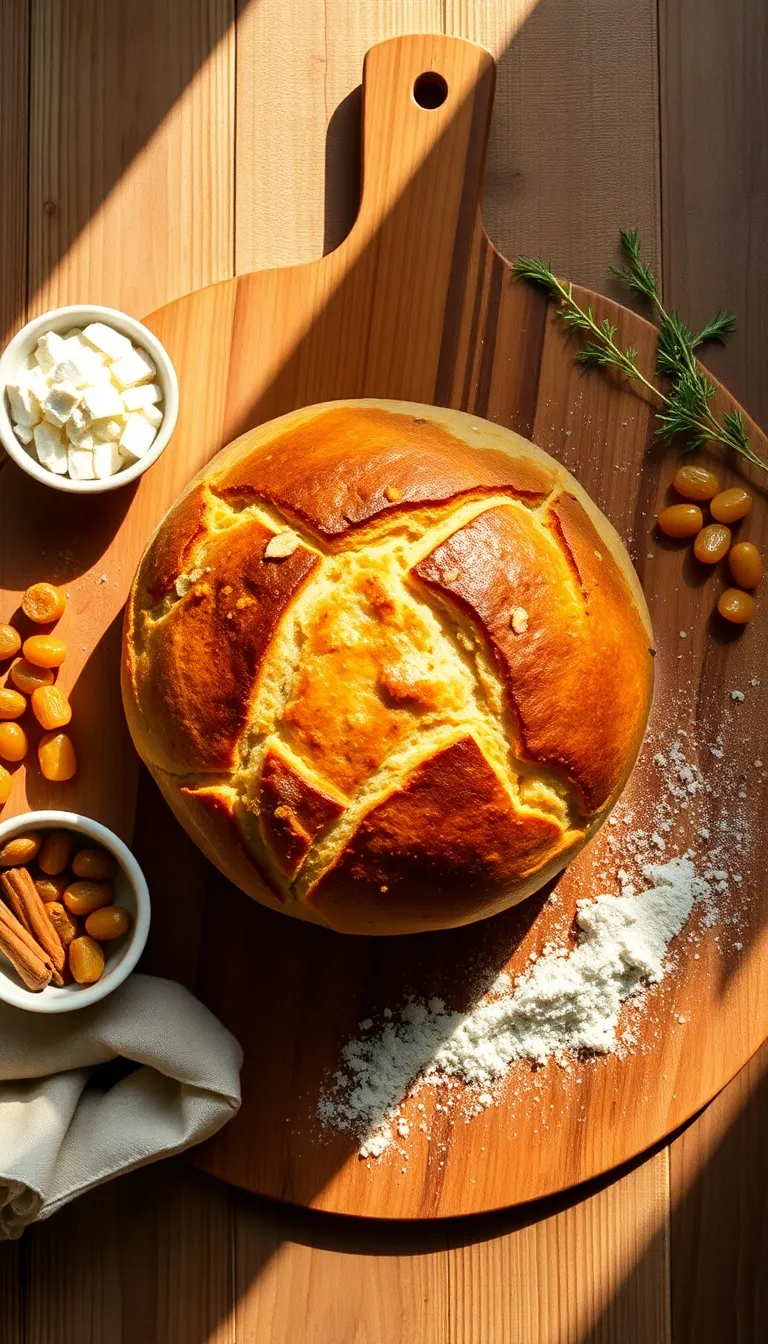
Imagine the comforting aroma of freshly baked bread wafting through your kitchen, inviting warmth and sweetness into your home. This Amish sweet bread is a delightful treat for both beginners and seasoned bakers, capturing the essence of traditional homemade goodness. With its tender crumb and subtle sweetness, this bread is perfect for everything from breakfast toast to an irresistible afternoon snack.
What makes this recipe truly special is its simplicity and the rich, buttery flavor that comes alive with every bite. A hint of vanilla and a touch of sugar meld seamlessly to create a bread that’s as delightful to make as it is to eat. Whether you’re kneading dough for the first time or perfecting your baking skills, this recipe promises a rewarding experience and a delicious outcome you’ll want to share with family and friends.
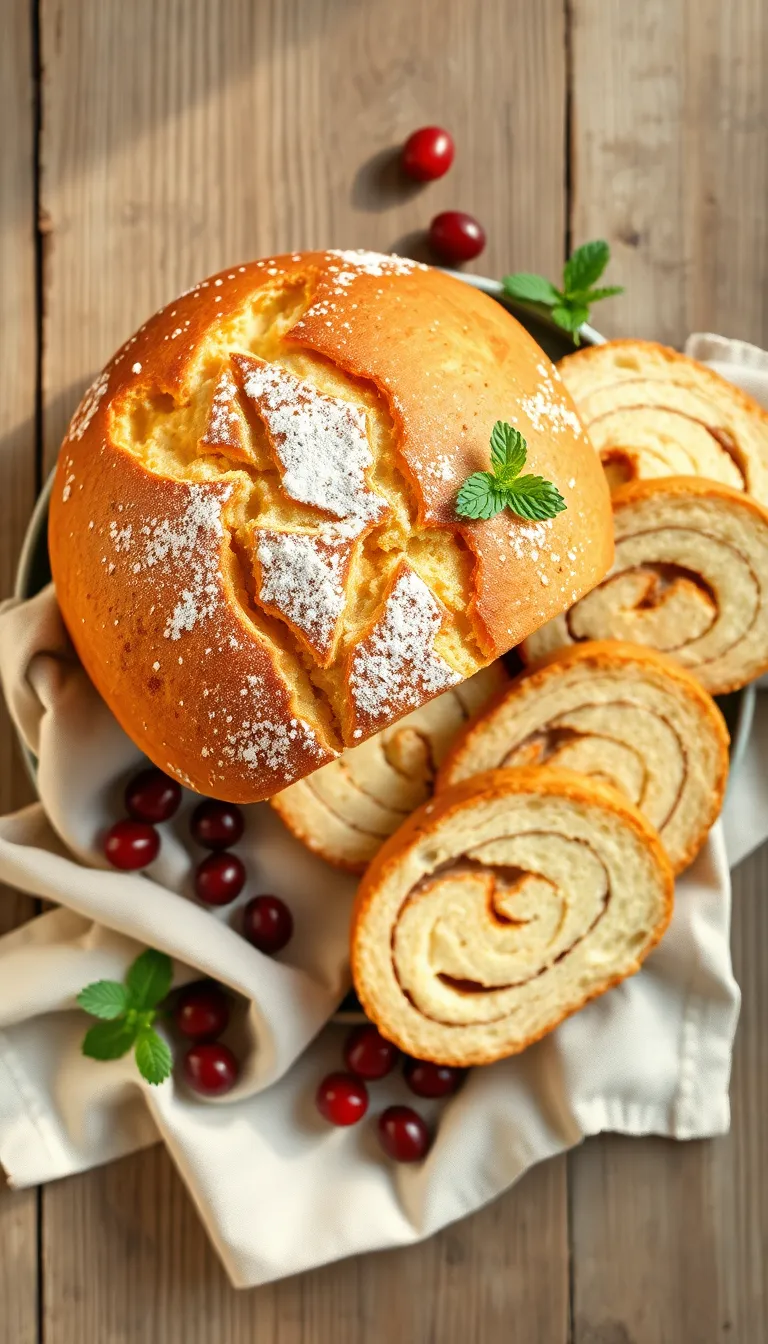
About This amish sweet bread Recipe
- Simple Ingredients: This Amish sweet bread is made with pantry staples you likely already have on hand, making it easy to whip up without a special trip to the store.
- Delightful Sweetness: The perfect hint of sweetness makes this bread a versatile choice, ideal for breakfast, a snack, or even dessert.
- No Special Equipment Required: You don’t need a bread machine or mixer to make this recipe, just some basic kitchen tools and a little elbow grease.
- Time-Tested Tradition: Rooted in Amish culinary traditions, this recipe delivers a rich and authentic flavor that has been cherished for generations.
- Perfect for Sharing: With its inviting aroma and soft texture, this bread is always a hit at gatherings or as a thoughtful homemade gift.
- Beginner-Friendly: Even if you’re new to baking, the straightforward steps make it easy to achieve a deliciously satisfying result.
Why You’ll Love This Recipe
- Authentic Flavor: This Amish sweet bread recipe captures the rich, homemade taste that has been cherished for generations.
- Simple Ingredients: Made with pantry staples, this recipe is both budget-friendly and easy to prepare, making it perfect for bakers of all skill levels.
- Versatile Delight: Enjoy it fresh from the oven or as a delicious base for French toast, sandwiches, or bread pudding.
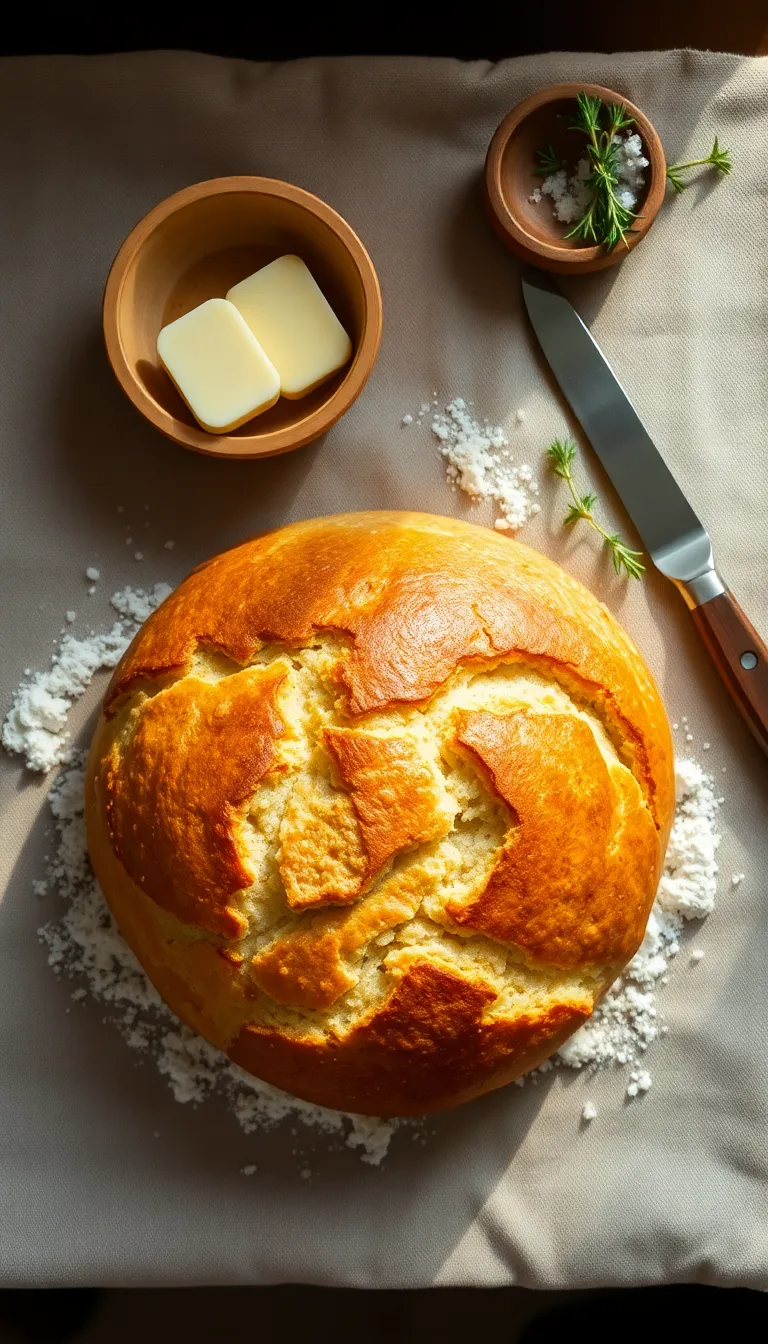
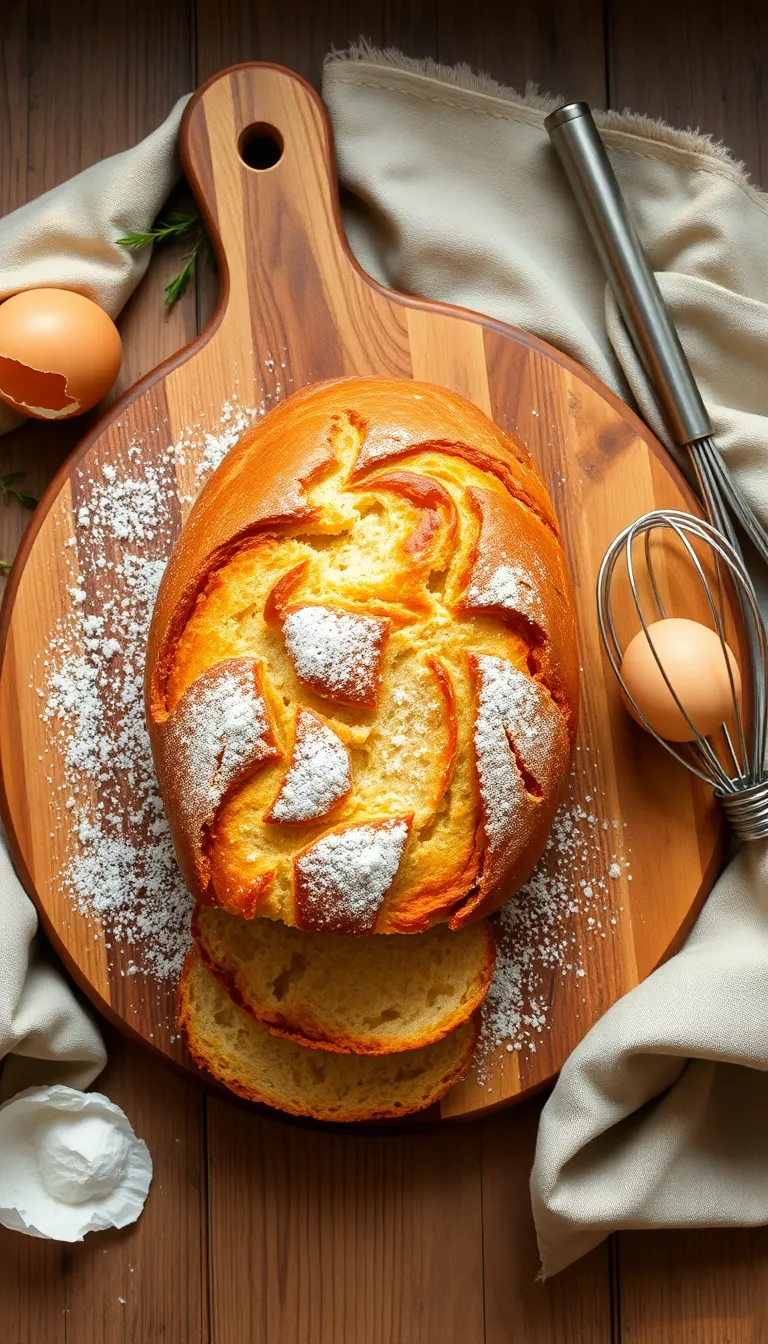
- Perfect Texture: Achieve a soft, fluffy interior with a perfectly golden crust that melts in your mouth with every bite.
- Time-Saving Process: With straightforward steps and minimal prep time, this recipe fits seamlessly into any schedule.
- Delightfully Sweet: The subtle sweetness of this bread makes it a delightful treat on its own or with your favorite spreads.
Ingredients
- 1/2 cup warm water (about 110°F/45°C)
- 2 1/4 teaspoons active dry yeast (equivalent to one packet)
- 1/4 teaspoon sugar
- 2 cups milk
- 2/3 cup granulated sugar
- 1 1/2 teaspoons salt
- 1/4 cup unsalted butter, melted
- 5 1/2 to 6 cups all-purpose flour
(You can substitute with bread flour for a chewier texture.)
- 1/4 cup vegetable oil
- 1/4 cup honey
(For a different flavor, you can use maple syrup or agave nectar.)
- 2 large eggs, beaten
- 1 teaspoon vanilla extract
(Make sure to use pure vanilla extract for the best flavor.)
- 1/4 teaspoon ground nutmeg (optional)
(Adds a warm spice note to the bread.)
Kitchen Tools You’ll Need
- Mixing Bowl: Essential for combining all the dry and wet ingredients together. Choose a large bowl to ensure you have enough space to mix without spilling.
- Whisk: Used to thoroughly blend the ingredients and incorporate air into the batter, which helps the bread rise. If you don’t have a whisk, a fork can be an alternative.
- Measuring Cups and Spoons: Precision is important in baking, so use these tools to accurately measure your ingredients. This helps ensure consistent results.
- Loaf Pan: Necessary for shaping and baking the bread. If you don’t have a loaf pan, you can use a square baking dish, but the baking time may vary.
- Rubber Spatula: Handy for scraping down the sides of the bowl to ensure all ingredients are fully incorporated into the batter.
- Oven Mitts: Safety first! Use oven mitts to safely handle the hot loaf pan when removing the bread from the oven.
- Cooling Rack: Allows the bread to cool evenly after baking, preventing a soggy bottom. If unavailable, you can cool the bread on a clean, dry surface.
Preparation Steps
- Combine 2 cups of warm water, 2/3 cup of sugar, and 1 1/2 tablespoons of active dry yeast in a large mixing bowl. Let it sit for about 10 minutes until the mixture becomes frothy.
- Stir in 1/4 cup of vegetable oil and 1 1/2 teaspoons of salt into the yeast mixture, then gradually add 6 cups of all-purpose flour. Mix until a smooth dough forms.
- Knead the dough on a lightly floured surface for about 8-10 minutes until it is smooth and elastic. The dough should spring back when pressed with your finger.
- Place the dough in a greased bowl, cover it with a damp cloth, and let it rise in a warm area for 1 hour, or until it has doubled in size.
- Punch down the dough to release the air, then divide it into two equal parts. Shape each part into a loaf and place them into greased 9×5 inch loaf pans.
- Cover the loaf pans with a damp cloth and let the dough rise again for 30-45 minutes until it rises about 1 inch above the pan edges.
- Bake in a preheated oven at 350°F (175°C) for 30-40 minutes. The bread is done when it has a golden brown crust and sounds hollow when tapped on the bottom.
Serving Suggestions
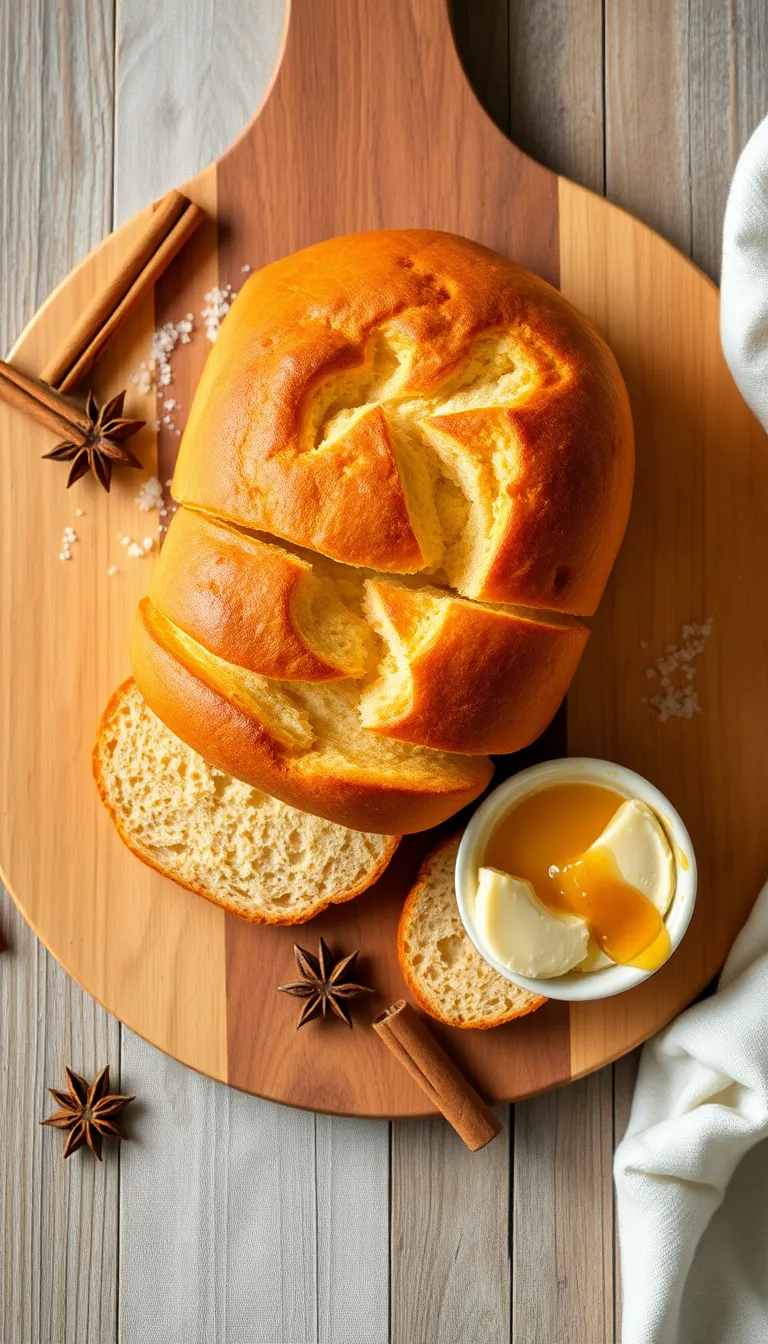
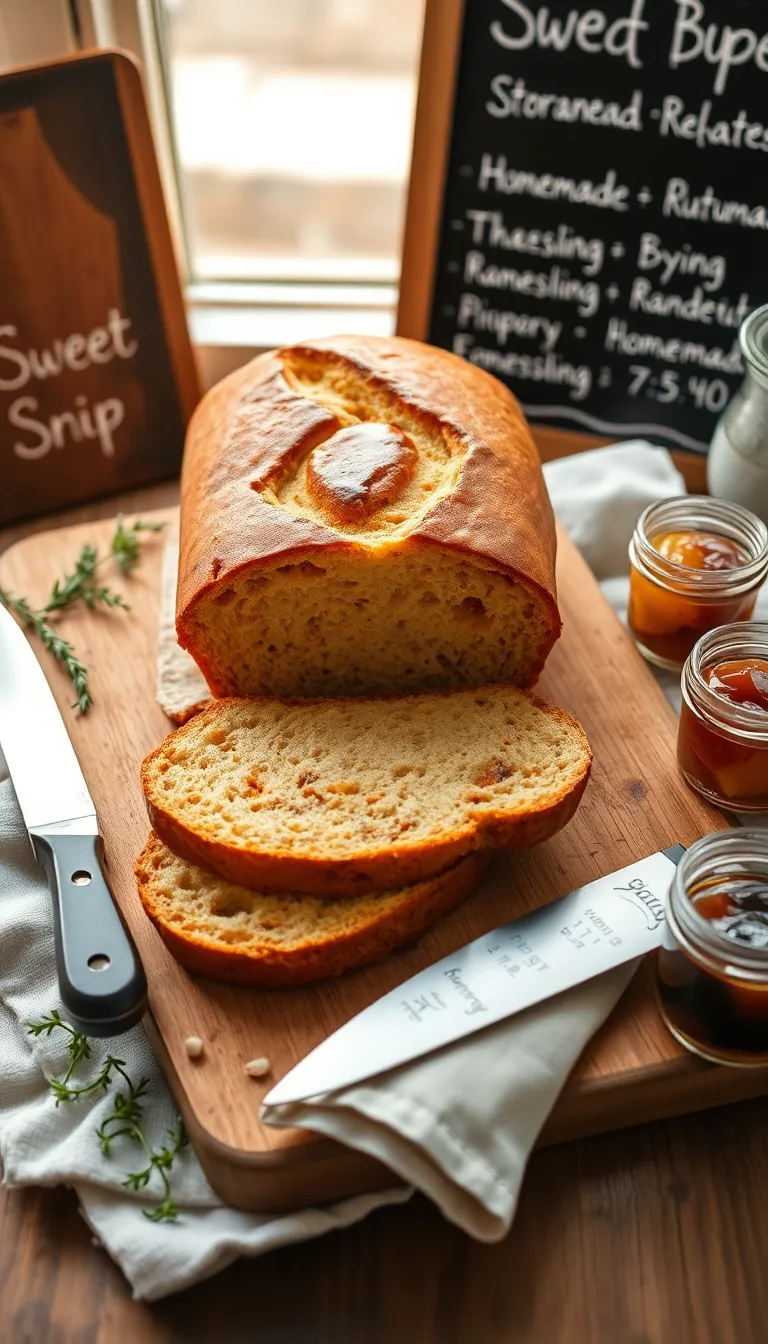
- With Butter and Jam: Serve warm slices of Amish sweet bread with a generous spread of butter and your favorite jam. The creamy butter and fruity jam beautifully complement the bread’s sweetness, making it a delightful option for breakfast or brunch.
- Alongside a Cheese Platter: Pair the bread with a selection of cheeses such as brie or cheddar. The sweet and savory combination makes it perfect for an appetizer or a snack at a casual gathering. Garnish with fresh fruit like grapes or apple slices for added color and flavor.
- Accompanied by a Soup or Stew: Serve the bread as a side to hearty soups or stews, such as chicken noodle or beef stew. The bread’s sweetness balances the savory flavors, and the soft texture is perfect for dipping.
- As a Dessert Base: Use slices of the sweet bread as a base for desserts by topping them with whipped cream and fresh berries. This transforms the bread into an elegant dessert option at dinner parties.
- With Coffee or Tea: Enjoy the bread with a hot cup of coffee or tea. The bread’s sweet flavor pairs well with both, making it a comforting choice for a mid-afternoon snack or a light breakfast. Consider adding a sprinkle of cinnamon or nutmeg on top for extra warmth and aroma.
Pro Tips for Perfect Results
- Room Temperature Ingredients: Ensure all ingredients, especially eggs and milk, are at room temperature before mixing. This helps the dough rise more evenly and results in a softer texture.
- Sugar as a Browning Agent: Sprinkle a little sugar on top of the dough before baking. This not only adds a touch of sweetness but also helps achieve a beautifully caramelized crust.
- Proofing Perfection: For the best rise, let the dough proof in a warm, draft-free area. If your kitchen is cold, turn on your oven for a few minutes, turn it off, and let the dough rise inside with the oven light on.
- Make-Ahead Dough: Prepare the dough the night before and let it rise slowly in the refrigerator. This extends fermentation, enhancing the bread’s flavor and texture.
- Steam for Crust: Place a pan of water on the bottom rack of your oven while baking. The steam will create a beautiful crust on the sweet bread.
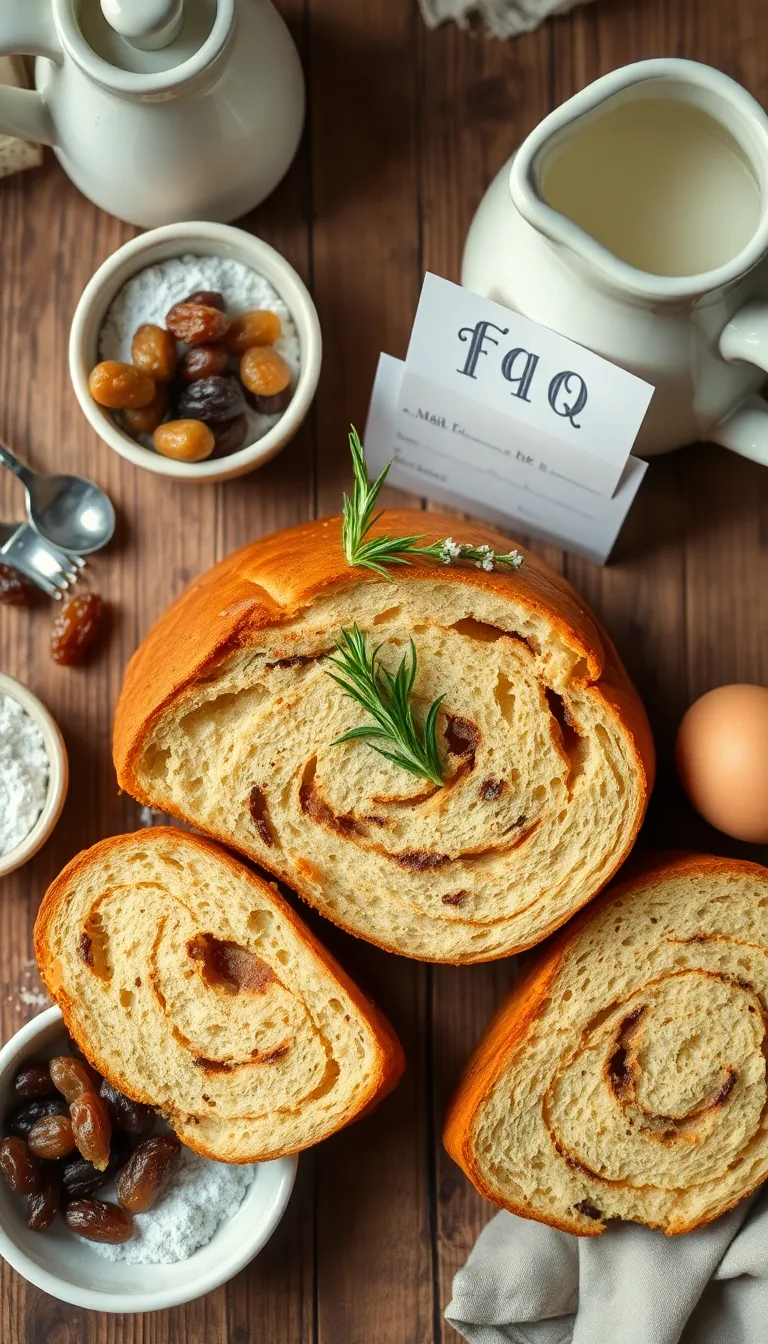
- Secret Ingredient: Add a pinch of nutmeg to the dough. This subtle spice can enhance the bread’s flavor profile without being overpowering.
Common Mistakes to Avoid
- Incorrect Yeast Activation: This mistake often occurs when using water that is too hot or too cold, which can kill the yeast or fail to activate it, respectively. To avoid this, ensure the water temperature is between 105°F and 115°F. Use a thermometer for accuracy and watch for bubbling or frothing, which indicates active yeast.
- Over-kneading the Dough: Kneading too much can develop excessive gluten, resulting in a dense loaf. To prevent this, knead the dough until it is smooth and elastic, which usually takes about 8-10 minutes by hand. Stop kneading as soon as the dough holds its shape and springs back when poked.
- Skipping the Second Rise: Many home bakers rush through the second rise, leading to a loaf with poor texture. Allow the dough to rise a second time until it has doubled in size. This step is crucial for developing flavor and achieving the right crumb structure.
- Inaccurate Measuring of Flour: Using too much flour can make the bread dry and crumbly. Avoid this by using the spoon-and-level method: spoon the flour into the measuring cup and level it off with a knife. This ensures you’re not compacting the flour, which can lead to excess in the dough.
- Not Preheating the Oven: Baking in a cold or inadequately heated oven can cause uneven baking and poor rise. Always preheat your oven to the required temperature before placing the bread inside. Use an oven thermometer to verify the accuracy of your oven’s settings.
Storage and Reheating Tips
Storage and Reheating Tips
- Allow the Amish sweet bread to cool completely before storing to prevent condensation, which can make the bread soggy.
- Wrap the bread tightly in plastic wrap or aluminum foil and place it in an airtight container to maintain freshness. Ensure the container is dry before use.
- Store the bread at room temperature for up to 3 days. For longer storage, refrigerate the bread.
- In the refrigerator, the bread can last up to 1 week. Always ensure the bread is wrapped well to prevent it from drying out.
- If you wish to freeze the bread, wrap it in plastic wrap and then in aluminum foil to protect it from freezer burn. Place it in a freezer-safe bag or container. It can be frozen for up to 3 months.
- To thaw frozen bread, transfer it to the refrigerator overnight, or leave it at room temperature for a few hours.
- When reheating, preheat the oven to 350°F (175°C). Wrap the bread in foil and warm it in the oven for about 10-15 minutes, depending on the size of the loaf. This method helps retain moisture and prevents the bread from becoming too dry.
- Avoid using the microwave for reheating, as it can make the bread chewy. If necessary, microwave on a low setting for a short period, checking frequently.
- Food Safety Tip: Once reheated, consume the bread promptly. Do not refreeze or refrigerate again once it has been reheated.
Proper storage and reheating techniques are crucial for maintaining the delightful texture and flavor of Amish sweet bread. By following these tips, you can ensure your bread remains delicious for days to come.
Frequently Asked Questions
Q: Can I substitute all-purpose flour with whole wheat flour in this Amish sweet bread recipe?
- Yes, but keep in mind that whole wheat flour will make the bread denser and may slightly alter the flavor. You might also need to add a little extra liquid.
Q: How can I tell if the yeast is still active?
- Proof the yeast by dissolving it in warm water with a teaspoon of sugar. If it becomes foamy within 5-10 minutes, it’s active.
Q: What is the best way to knead the dough if I don’t have a stand mixer?
- Hand-knead the dough on a floured surface for about 10 minutes until it becomes smooth and elastic.
Q: Can I add raisins or nuts to this recipe?
- Yes, you can add about 1 cup of raisins or chopped nuts. Add them during the last few minutes of kneading.
Q: Why is my bread not rising properly?
- Check the yeast expiration date and ensure the dough is placed in a warm environment to rise. Cold temperatures can inhibit rising.
Q: How can I make the crust of my bread softer?
- Brush the crust with melted butter immediately after baking to soften and add flavor.
Final Thoughts
The Amish sweet bread recipe is a delightful and simple treat that offers a perfect balance of sweetness and texture. Its soft, tender crumb and slightly sweet flavor make it a versatile addition to any meal or a delicious standalone snack. What makes this recipe truly special is its authenticity and the comforting sense of tradition that each slice brings.
Don’t hesitate to add your own twist to this classic recipe, whether it’s incorporating your favorite spices or a handful of nuts. Making it your own will only add to the joy of baking. Remember, the process of baking is a journey, and every loaf is an opportunity to express your creativity and love.
We warmly invite you to try this Amish sweet bread recipe and experience the joy of baking something truly special. Whether you’re a seasoned baker or just starting out, this recipe is bound to become a cherished favorite in your kitchen.
Hi there! I’m Himani and welcome to Val’s Recipe Box. This little corner of the internet didn’t begin with me. It began with Val my neighbourhood aunt whose kitchen held more warmth than any fireplace ever could.


 This little corner of the internet didn’t begin with me.
It began with Val my neighbourhood aunt whose kitchen held more warmth than any fireplace ever could.
She was more of a friend and I’ve come to know her in the most unexpected way.
This little corner of the internet didn’t begin with me.
It began with Val my neighbourhood aunt whose kitchen held more warmth than any fireplace ever could.
She was more of a friend and I’ve come to know her in the most unexpected way.