Getting these bars together means a mess of crushed graham crackers, melting marshmallow stuck to fingers, and chocolate smudges on the counter. It’s a sticky, noisy process that’s half the fun of making them.
Layering the ingredients involves pressing crusts down hard, spreading melted chocolate carefully, and watching marshmallows puff up and toast under the broiler. You’ll need to stay close to catch any bubbling over or burnt spots.
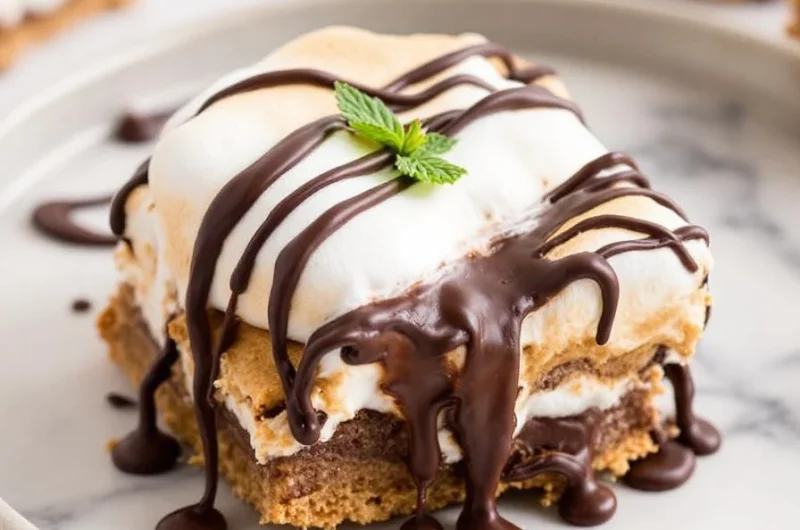
The crack of the graham cracker crust gives way to the gooey, melty marshmallow and chocolate layers, each bite a satisfying mix of crunch and chew that keeps you reaching back for more.
Key Ingredients and Substitutes
- Graham crackers: I crush these until crumbly — think sandy, but still a bit chunky. Swap for digestive biscuits if you want a slightly richer, less sweet crust.
- Unsalted butter: Melts into the crust, making it hold together. Use vegan butter for dairy-free, or browned butter for a nuttier flavor.
- Chocolate chips: I prefer semi-sweet, but dark chocolate or milk chocolate chips work just as well. Oozier with a sweeter chocolate, less intense with dark.
- Marshmallows: Puffy, sticky, and sweet—watch them puff up and turn golden. For a caramel twist, add some caramel bits or toasted coconut.
- Sweetened condensed milk: It binds everything, turning gooey and rich. Try coconut cream for a dairy-free version that still feels indulgent.
- Vanilla extract: Just a splash deepens the flavor of the chocolate and marshmallow. Skip it if you want a more straightforward, marshmallow-chocolate punch.
- Salt: A pinch heightens the sweetness and balances the richness. Kosher salt flakes add a nice crunch and burst of flavor.
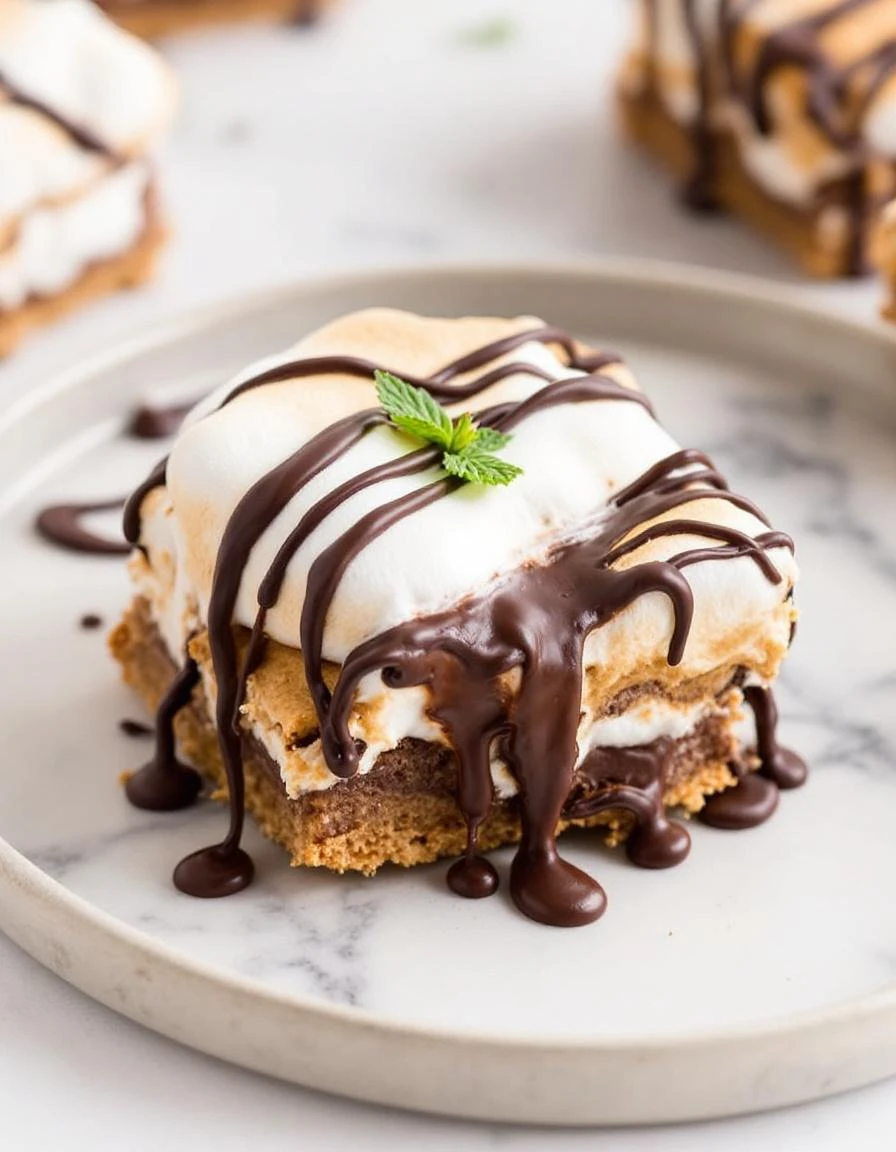
Graham Cracker S'mores Bars
Ingredients
Equipment
Method
- Combine the graham cracker crumbs with melted butter in a bowl, mixing until the crumbs are evenly coated and hold together when pressed.
- Press the graham cracker mixture firmly into the bottom of a greased 9x13-inch baking dish, creating an even crust. Chill in the refrigerator for about 10 minutes to set.
- In a microwave-safe bowl or using a double boiler, melt the chocolate chips until smooth and glossy, stirring occasionally.
- Evenly spread the melted chocolate over the chilled crust, smoothing the top with a spatula.
- Pour the marshmallows into a microwave-safe bowl and microwave in 30-second intervals, stirring each time, until puffed and soft.
- Spread the marshmallows evenly over the chocolate layer, pressing down gently to help them stick.
- Place the dish under the broiler for 1-2 minutes, watching closely until the marshmallows puff up and turn golden brown.
- Remove the dish from the oven and let it cool at room temperature for about 15 minutes, allowing the marshmallow topping to set slightly.
- Refrigerate the bars for at least 2 hours or until fully chilled and firm before cutting into squares.
- Use a sharp knife to cut into squares, serving once fully set and slightly gooey.
- Enjoy these rich, sticky, and crunchy bars as a decadent treat or dessert!
Common Mistakes and How to Fix Them
- FORGOT to spray the pan, stuck crusts are a pain to lift—grease your baking dish well.
- DUMPED marshmallows directly into hot chocolate—wait for it to cool slightly to avoid burns.
- OVER-TORCHED the marshmallows—keep a close eye, they turn bitter and hard when burnt.
- MISSED the chill time—refrigerate the bars for at least 2 hours to set properly and avoid mess.
Make-Ahead and Storage Tips
- Prepare the crust and chocolate layer a day ahead; keep covered at room temperature, it firms up nicely overnight.
- Bars can be refrigerated for up to 3 days—flavors deepen, marshmallow gets a tad firmer, but still gooey.
- Freeze for longer storage—up to a month—wrap tightly to prevent freezer burn, and thaw in fridge before serving.
- Reheat slices in the oven at 350°F for about 10 minutes—listen for the faint crackle of melting marshmallow and chocolate re-softening.
- For best flavor and texture, serve within 2 hours after reheating; marshmallow may become sticky if left out too long.
FAQs
1. Can I use different chocolate types?
Yes, using dark chocolate makes a richer, more intense flavor, but milk chocolate adds sweetness and creaminess. Both melt smoothly, so choose based on your taste preference.
2. How long should I chill the bars?
Refrigerate the bars for at least 2 hours—until the marshmallow firms up and the chocolate sets. They become sticky if you cut them too soon.
3. How do I reheat leftovers?
Warm slices in the oven at 350°F for about 10 minutes. Look for the marshmallow to soften and the chocolate to glisten again, just enough to melt on the tongue.
4. Can I swap marshmallows?
Using fresh marshmallows gives a gooey, pillowy texture, but stale ones will be chewier and less sticky. Toasted marshmallows add a smoky flavor if you prefer a deeper taste.
5. Are substitutions possible for ingredients?
Yes, you can use gluten-free graham crackers or digestives. The texture remains crumbly, but the flavor varies slightly—less sweet, more nutty or toasty.
Hi there! I’m Himani and welcome to Val’s Recipe Box. This little corner of the internet didn’t begin with me. It began with Val my neighbourhood aunt whose kitchen held more warmth than any fireplace ever could.


 This little corner of the internet didn’t begin with me.
It began with Val my neighbourhood aunt whose kitchen held more warmth than any fireplace ever could.
She was more of a friend and I’ve come to know her in the most unexpected way.
This little corner of the internet didn’t begin with me.
It began with Val my neighbourhood aunt whose kitchen held more warmth than any fireplace ever could.
She was more of a friend and I’ve come to know her in the most unexpected way.